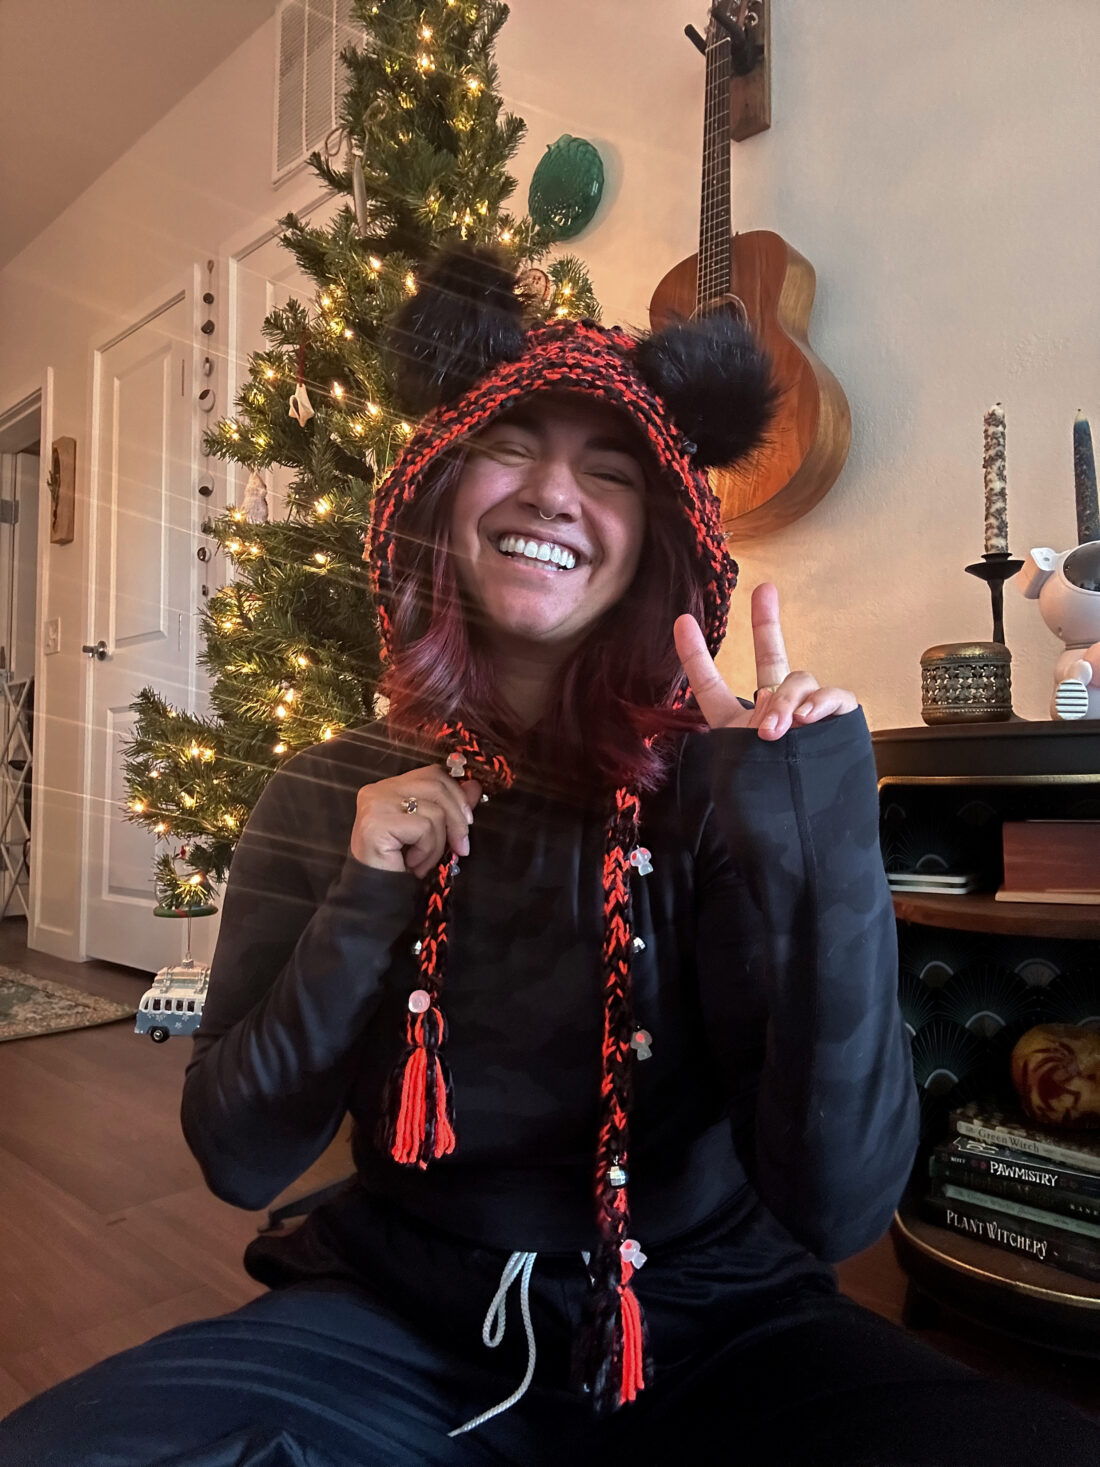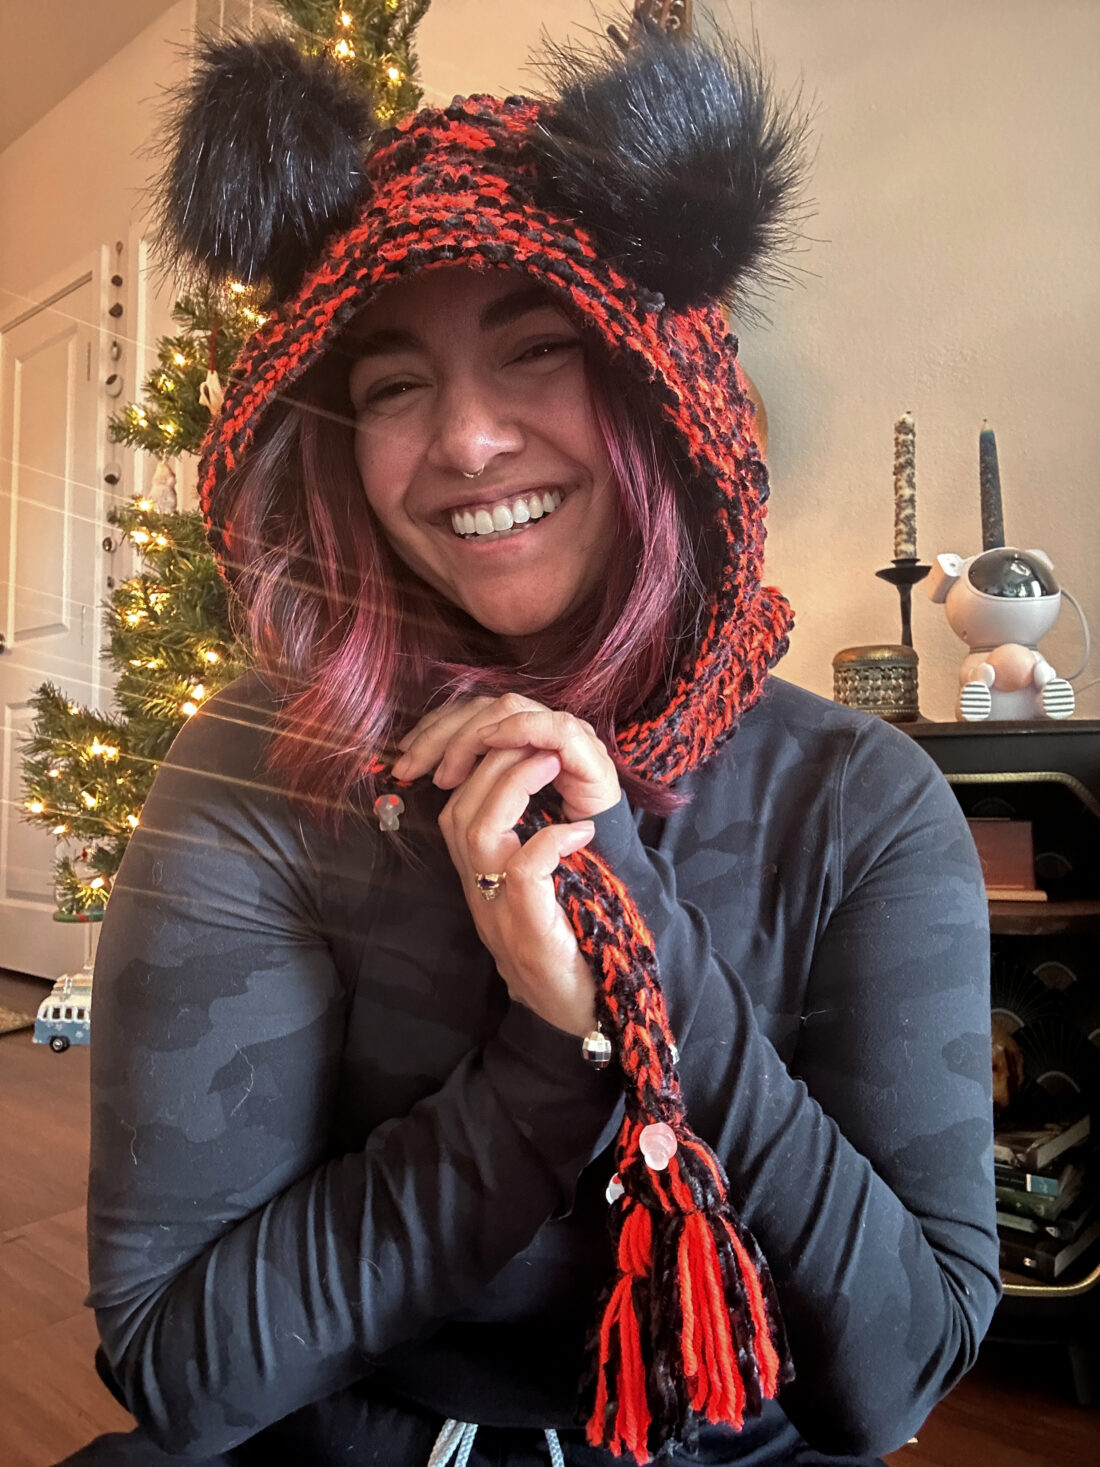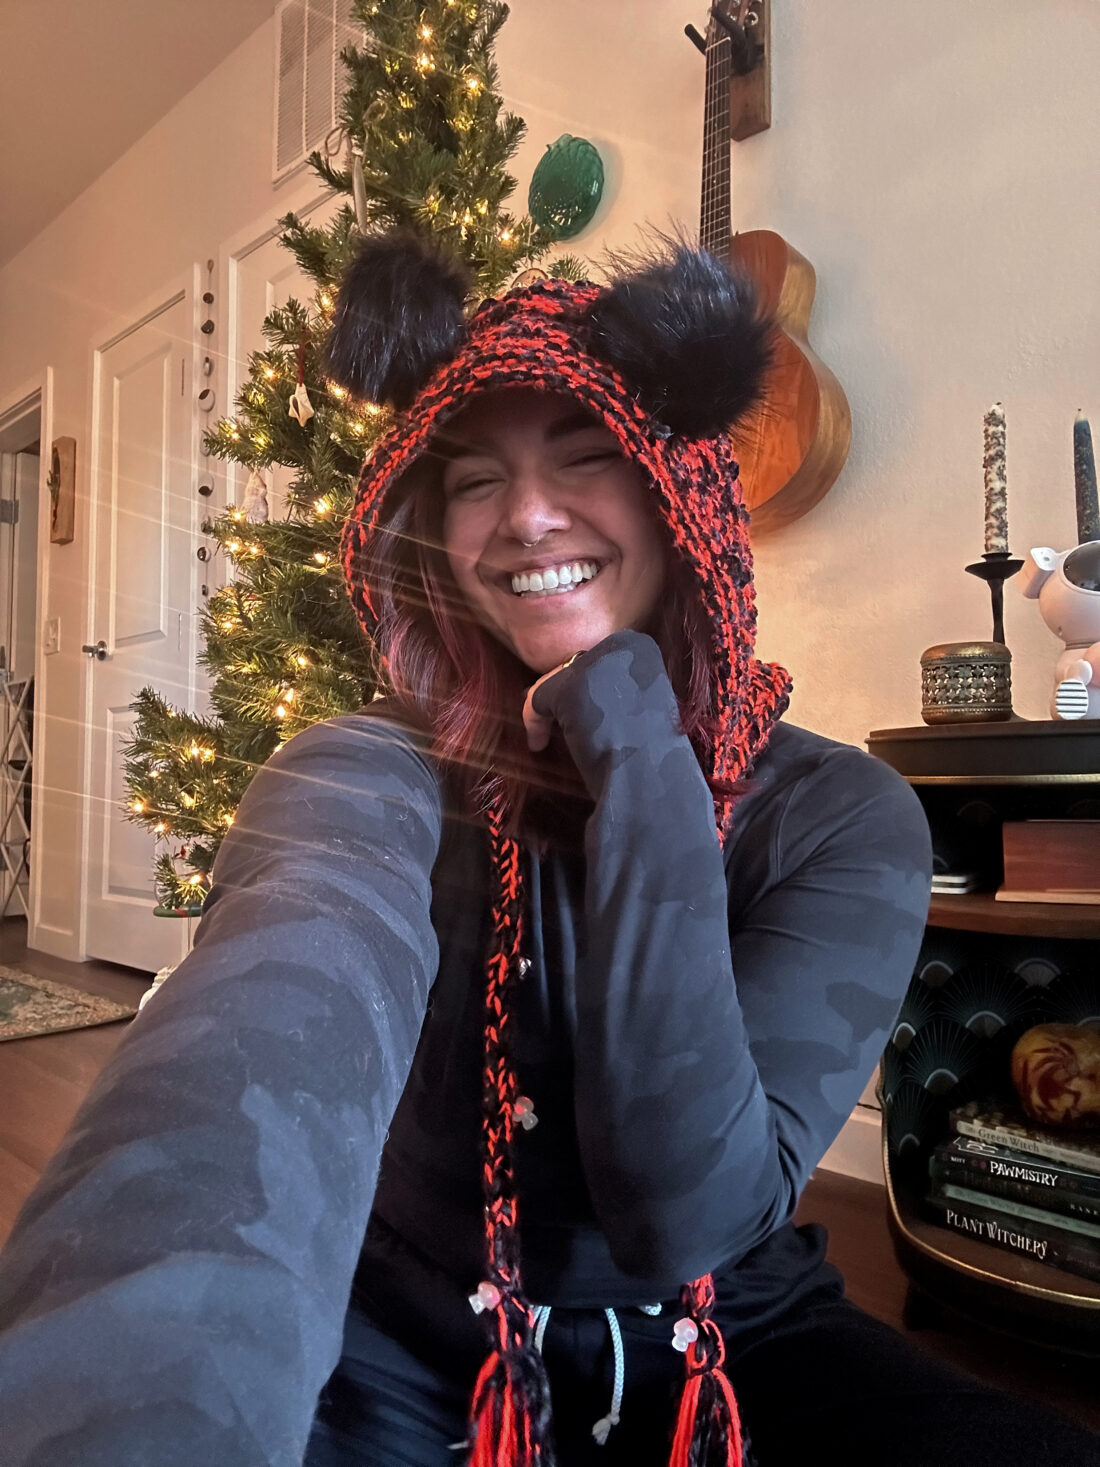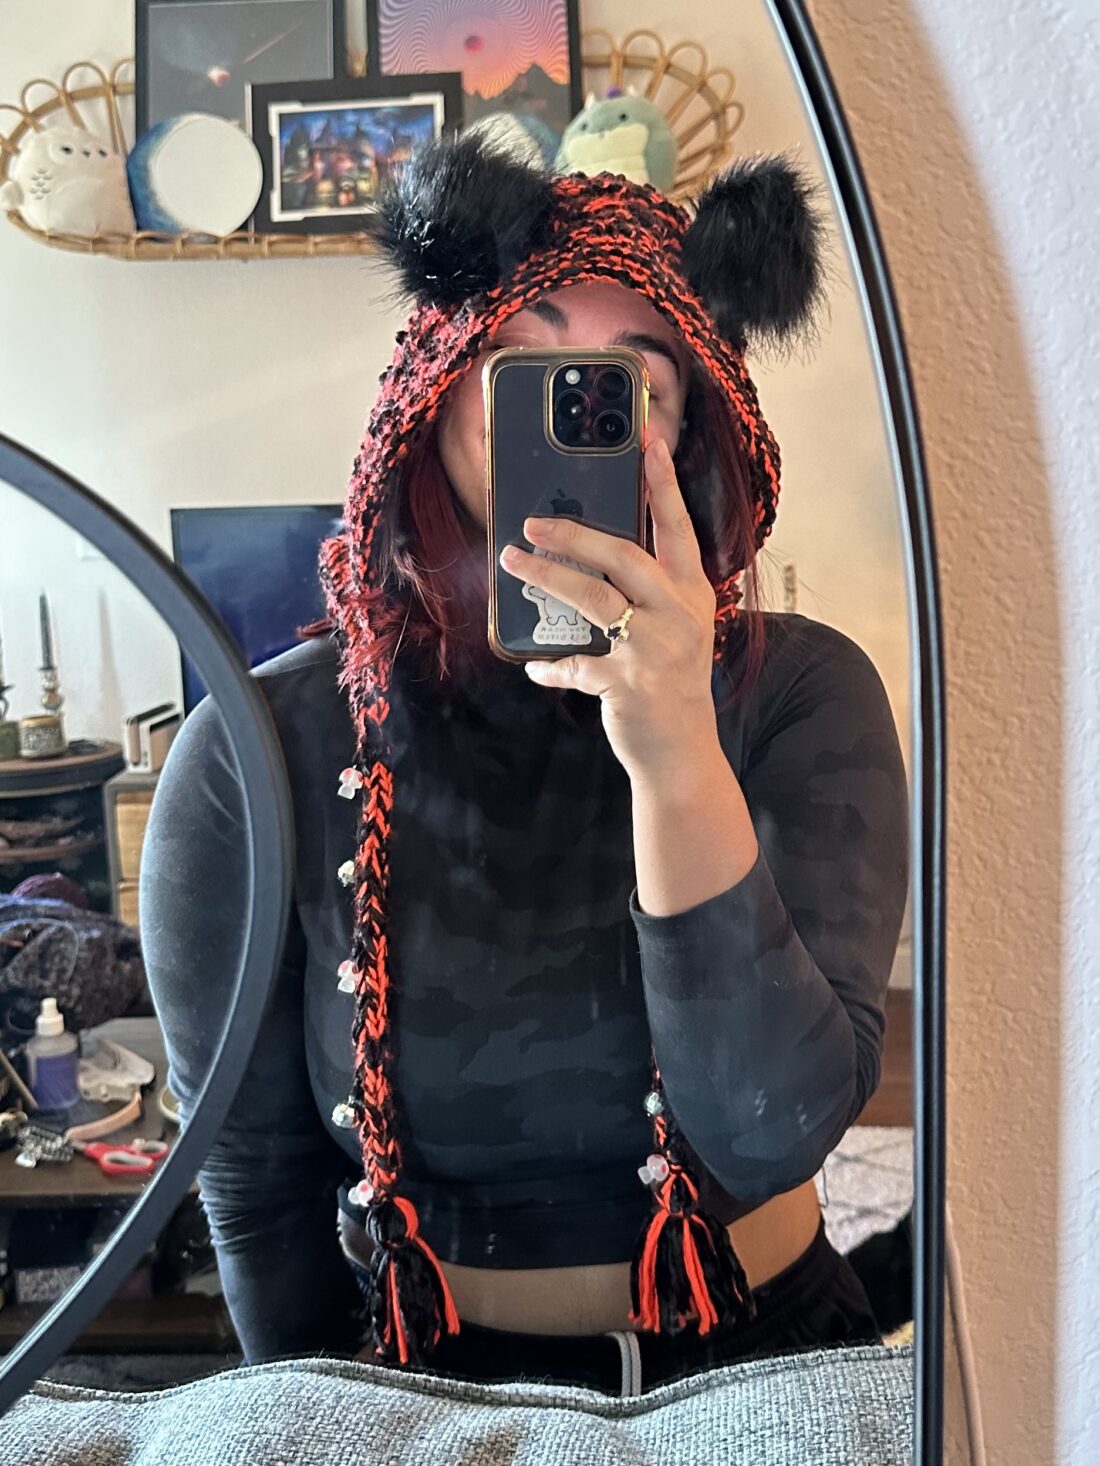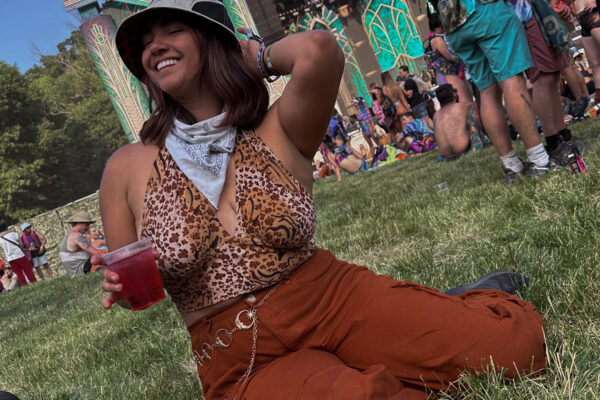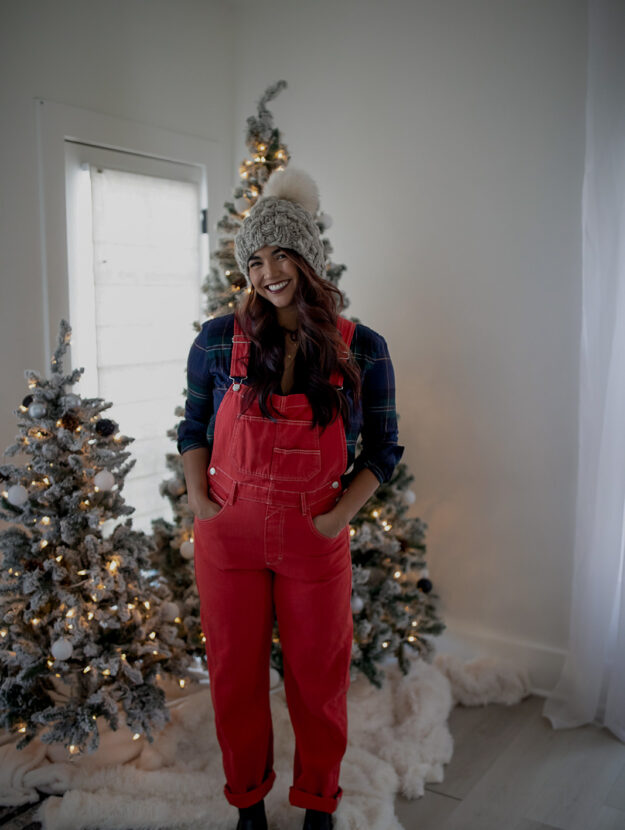
My goal for 2025 is to get intentional about my knitting. I want to make fun things that I want to actually wear! I have a friend who has a hat that he wears to a lot of shows and music festivals. After seeing his and starting to see other hoods at other shows, I was inspired to make my own.
I searched Ravelry for the perfect pattern. While many fun hood crochet patterns exist, I struggled to find what I was looking for in a knitting pattern. Determined, I found this pattern for the Natasha hood and thought about what modifications and yarn might get me to my desired effect.
Pattern: Natasha Hood
My Ravelry Notes Page: Natasha Hood
Materials:
Sometimes being intentional also means using what you already have. I did not purchase anything for this particular project; I already had everything in my stash.
I purchased neon orange acrylic yarn in 2020 to make a fun neon crop top but ended up stopping the project because it reminded me too much of a traffic vest. I frogged that WIP and wound the yarn to use for this project instead. (As a bonus, it lights up under blacklights!)
If you haven’t frogged yarn before, it turns out a little ramen-noodle like. I knit with the yarn without steam blocking but steam blocked the finished project. This turned out just fine, but I could have steam blocked the frogged yarn to have a better texture to work with.
I actually purchased this black velvet yarn to make the same project. (Originally, I planned to knit basic bralette crop tops. Obviously, those never happened). Both of these yarns were a medium-weight. Held together, they were pretty bulky. The pattern called for a bulky yarn but this yarn probably fell on the bulkier side of what was needed, resulting in a slightly larger pattern.
I had the faux fur pom-poms on hand from knitting beanies last winter and the charms were also on hand from making kandi for music festivals. Since they matched so perfectly, I was determined to find a way to incorporate them into the pattern.
Materials List:
- Neon Orange Yarn: Joann (similar – any aran/worsted weight acrylic yarn would be fine)
- Velvet Yarn: Joann (similar – any aran/worsted weight velvet yarn would be fine)
- Faux fur pom-poms: Amazon (exact)
- Glow-in-the-dark mushroom charms: Amazon (exact)
- Disco Ball Charms: Amazon (exact)
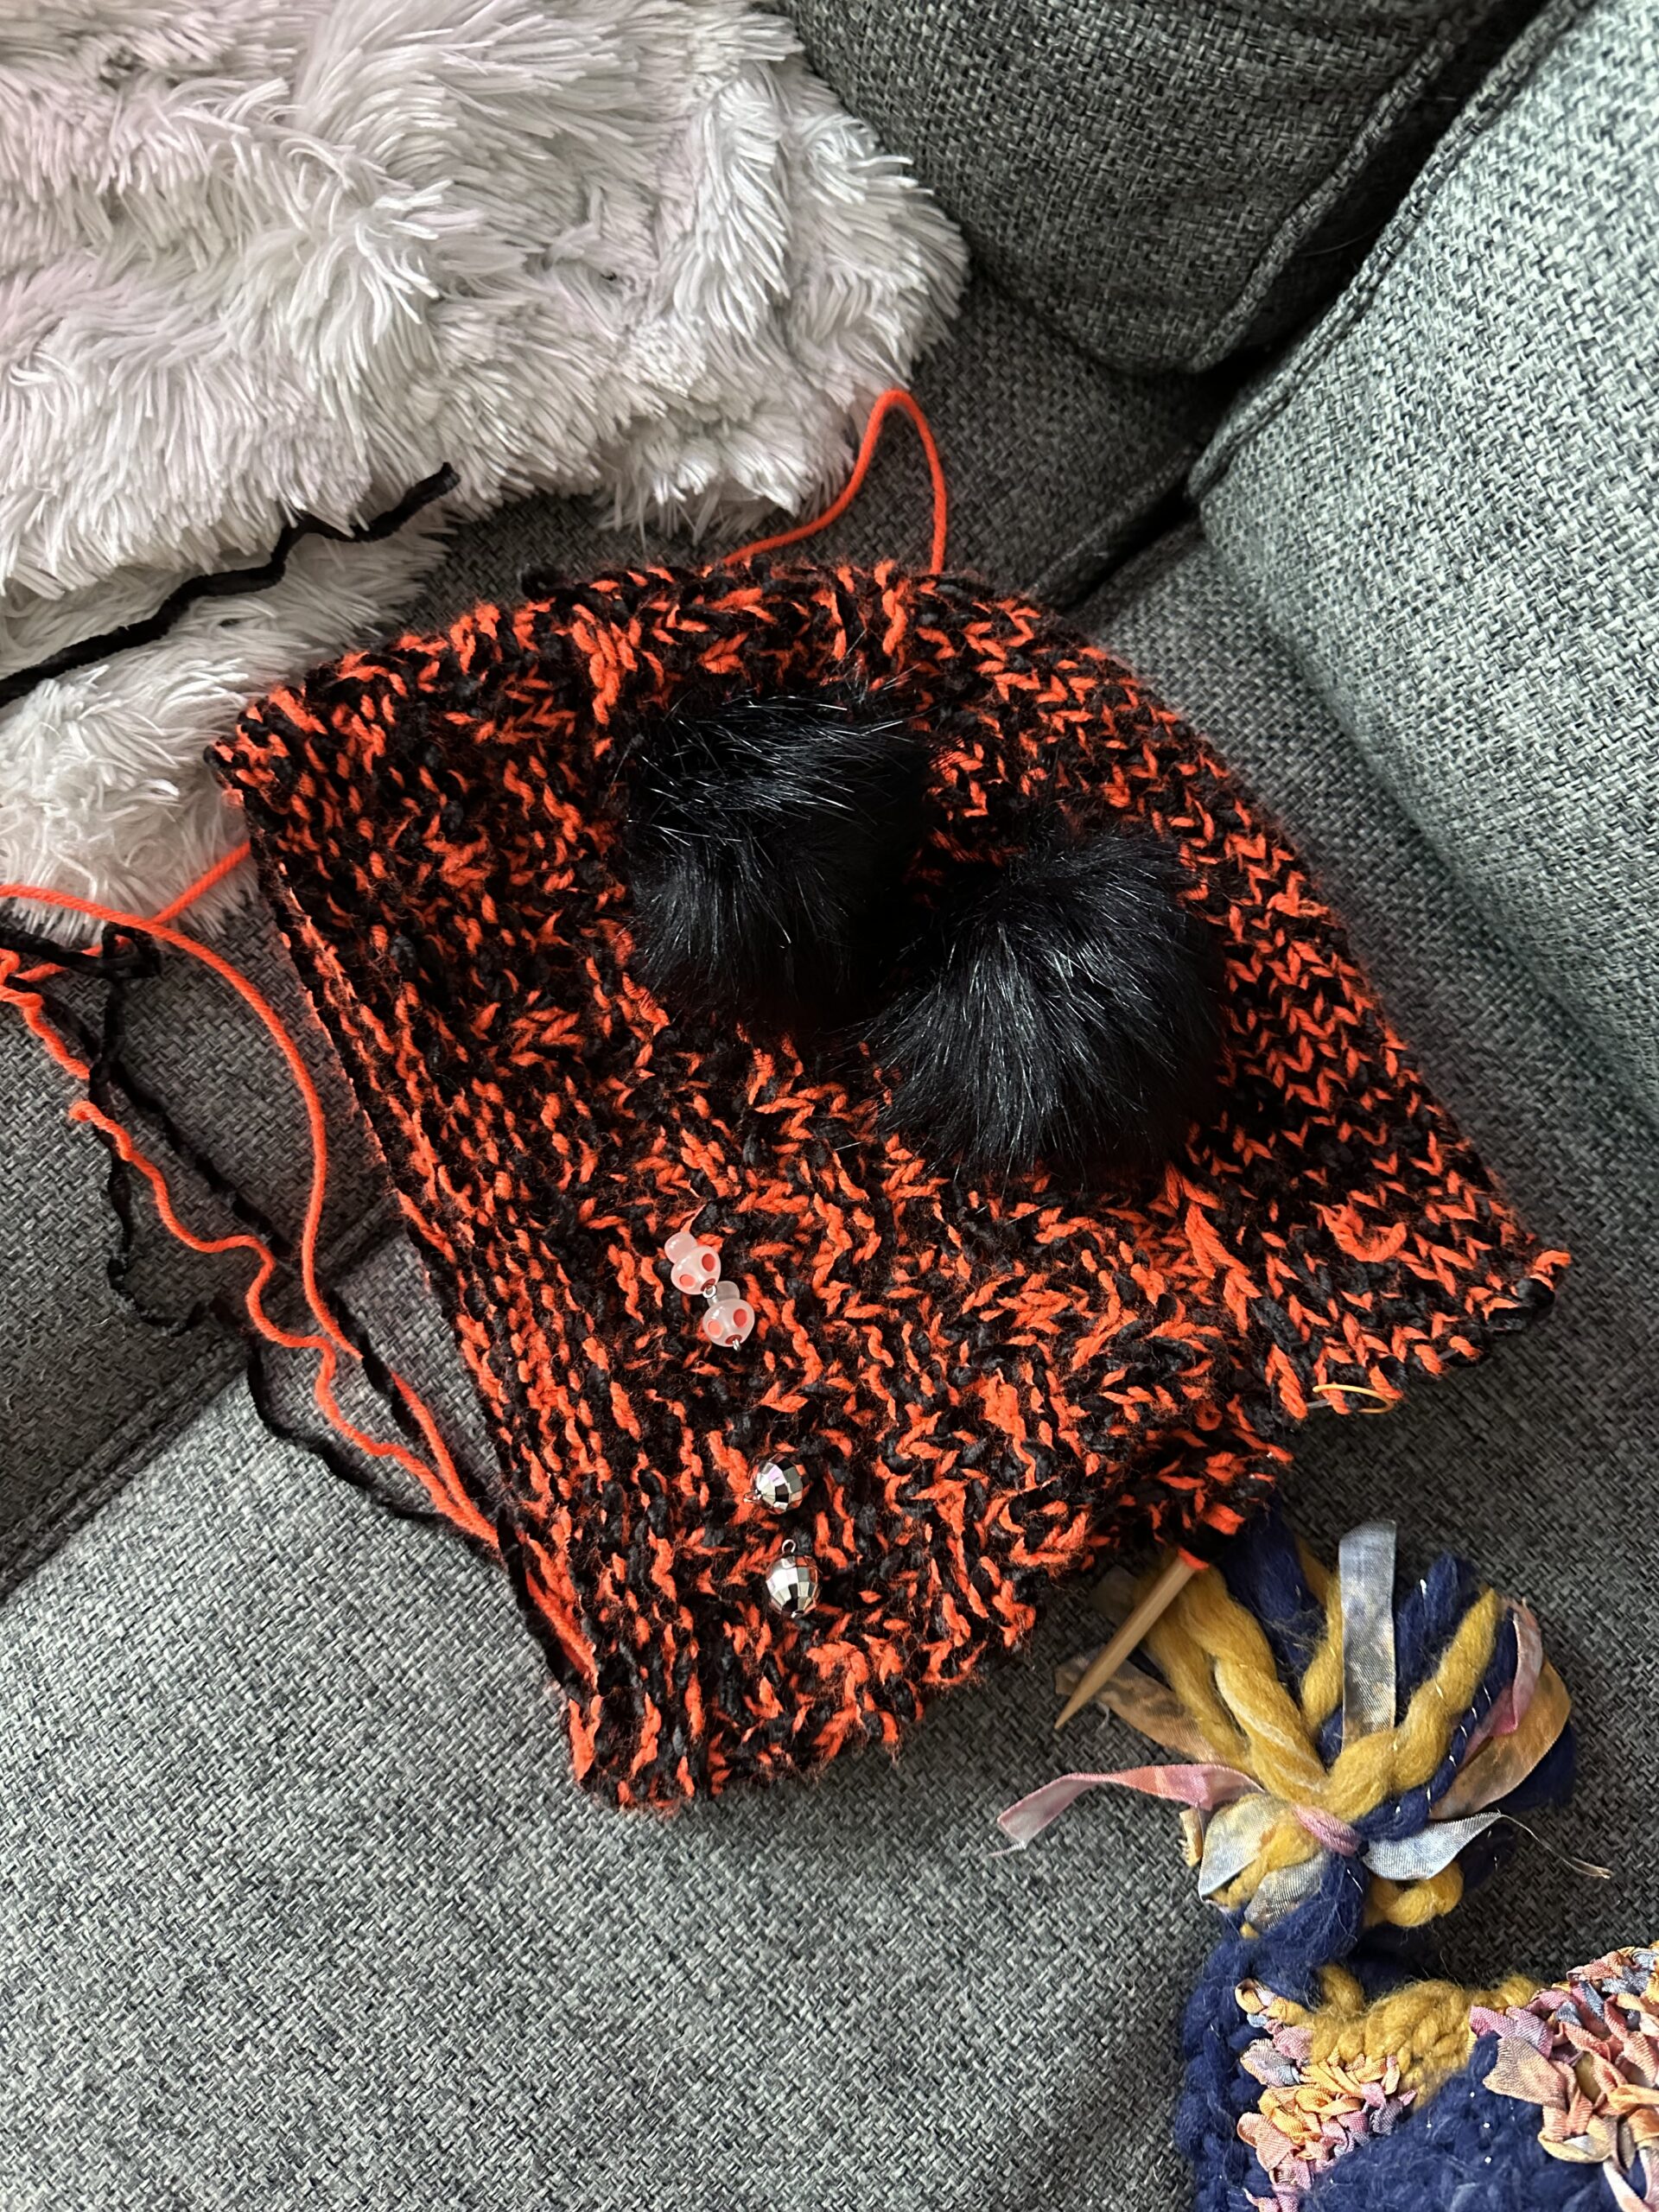
My Modifications:
Right off the bat, I didn’t have the 6.5mm needles that the pattern called for. I went down a size to a 6mm.
As I started knitting, I followed the instructions pretty much exactly. If I were to make this again, I might choose to do one less repeat of the basket weave pattern. This hood does sometimes fall into my face and I think shortening it would help.
When I got to the short rows, I may have miscounted, but I ended up needing to frog back a few rows to make sure I had an even number of stitches on both sides. When you do start splitting the piece for the short rows, making sure you have the same number of stitches on your left and right that you slowly connect to the hood is key to having an even hood.
When it came to the i-cord, I cast on four stitches instead of six (which the pattern called for). Six stitches would have made for way too bulky of a hood.
I also chose to make little tassels for the ends of the i-cord instead of making more pom poms and added charms to the cords as well.
Next time, I need to make sure I’m skipping stitches when attaching the i-cord.
The last step was just attaching the pom-poms, which I did while trying the hood on several times. Easy peasy.
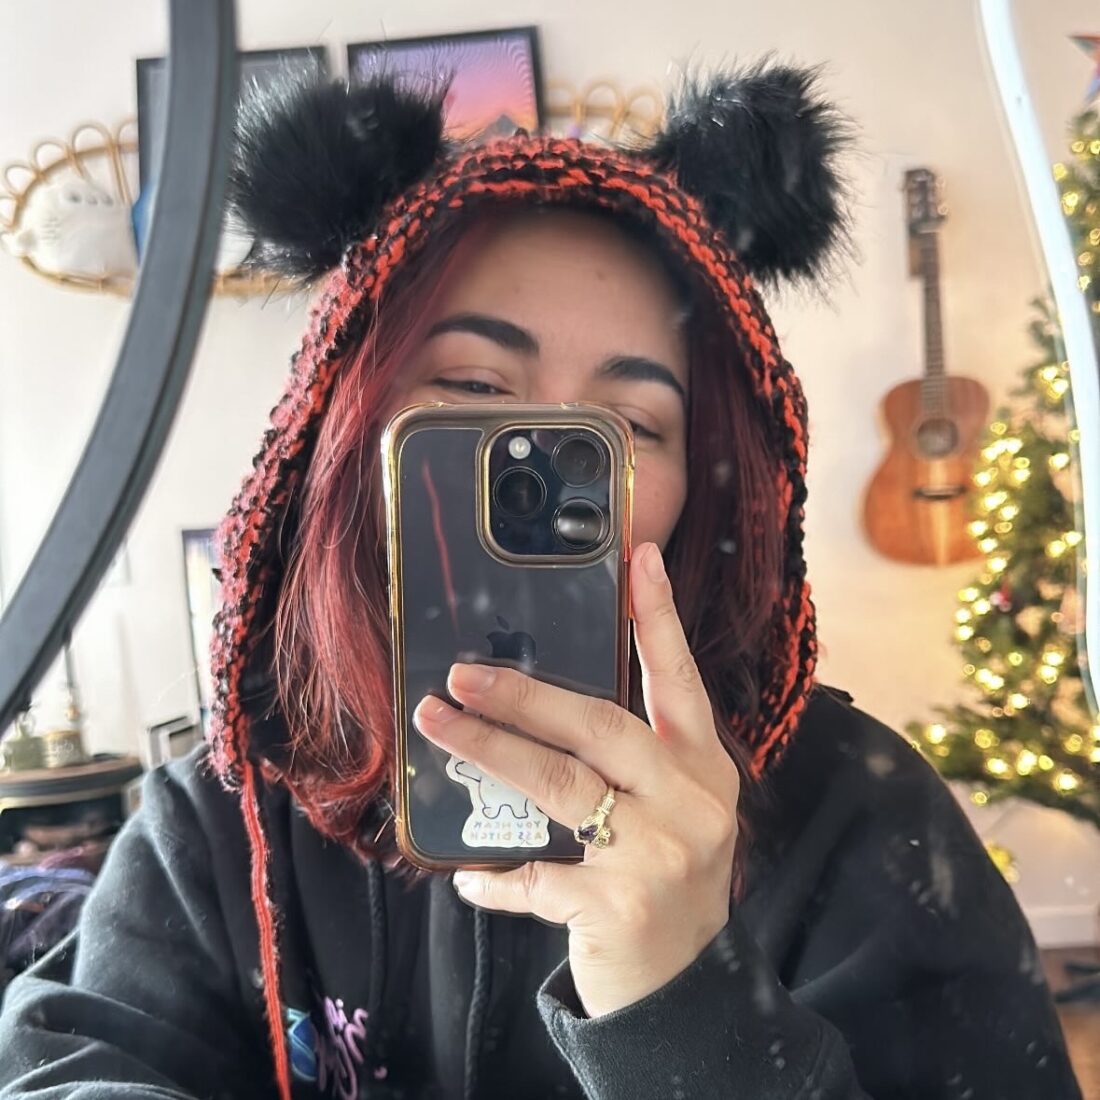
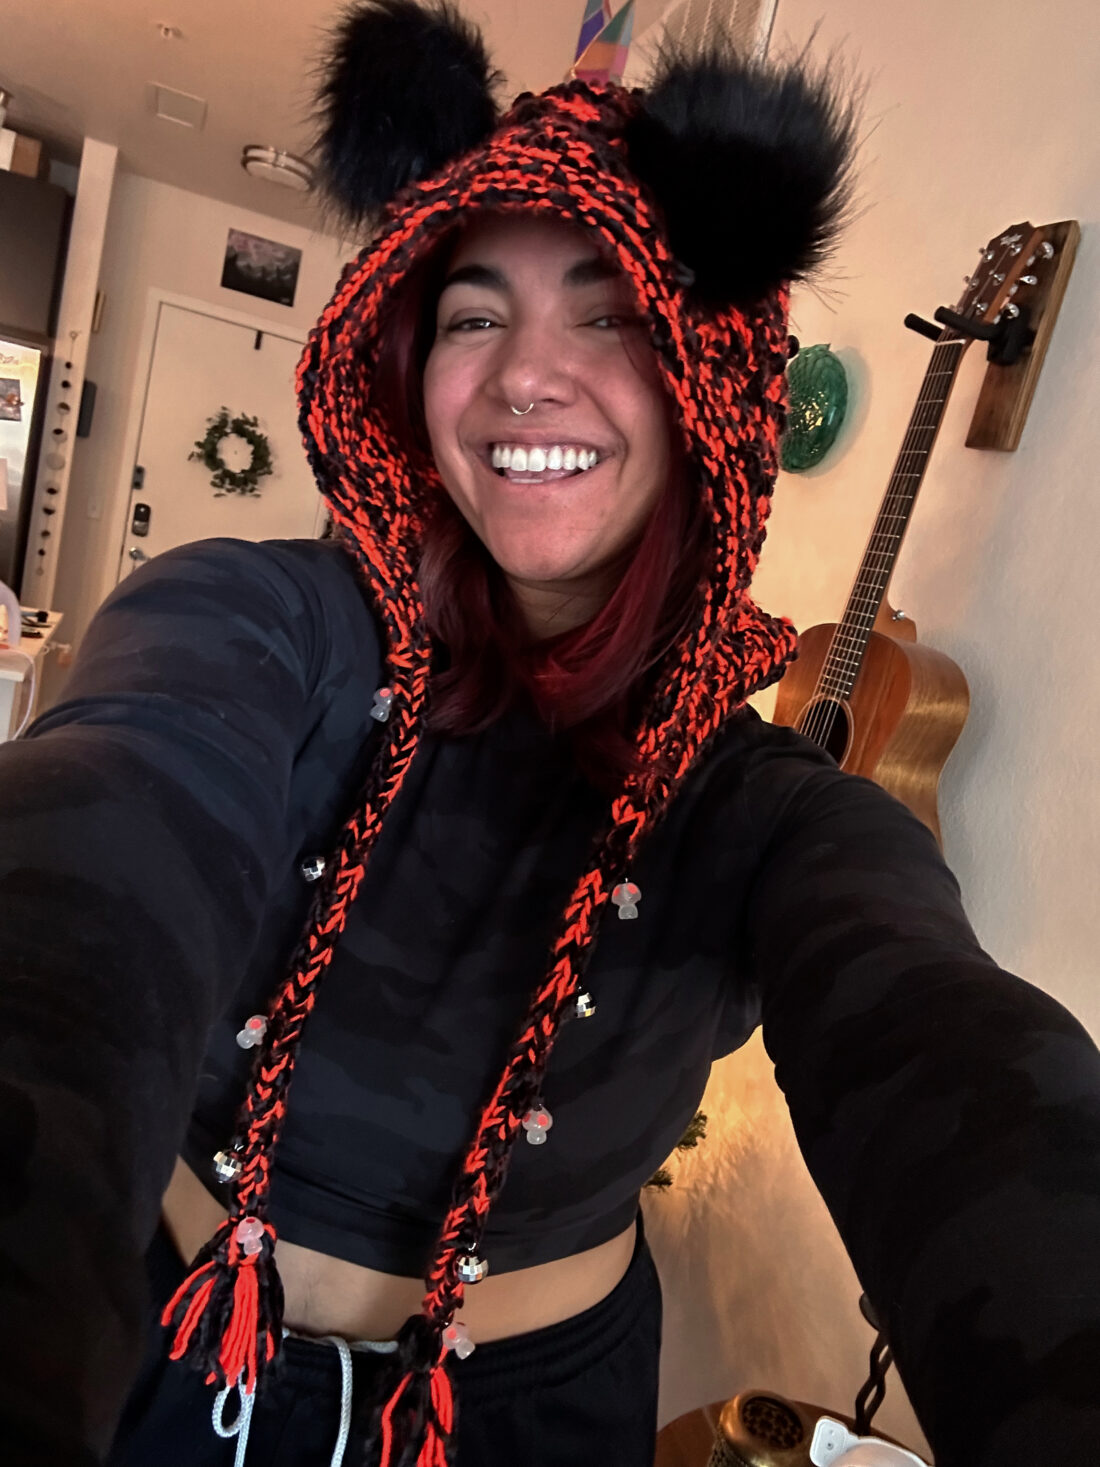
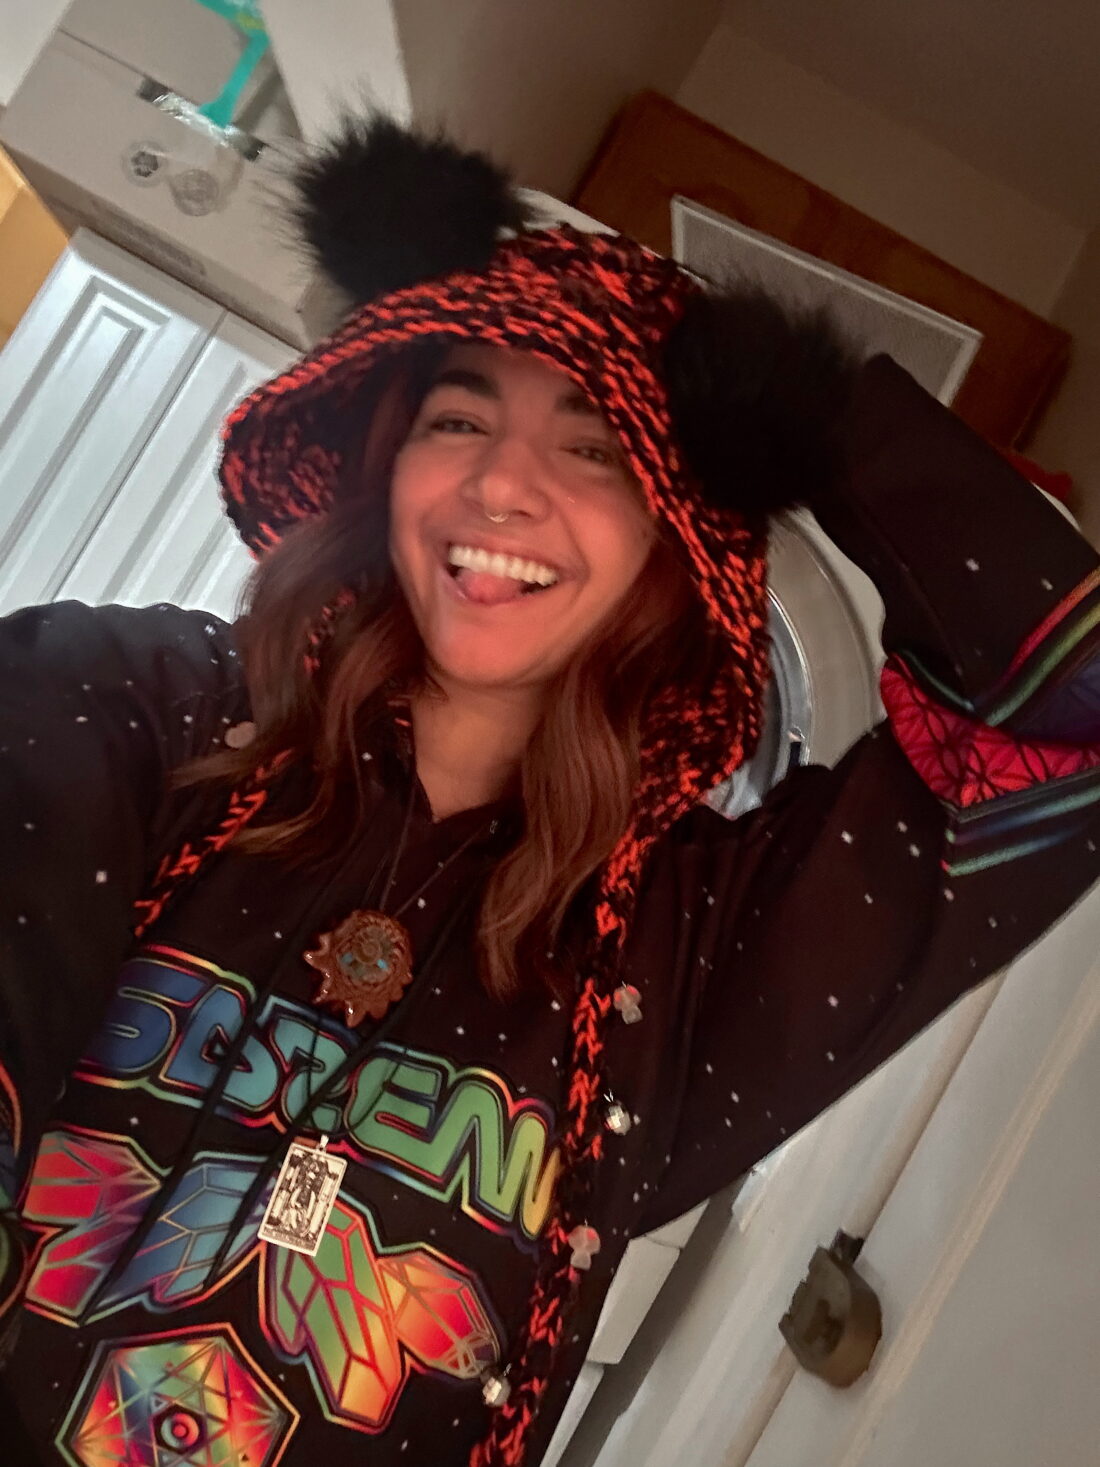
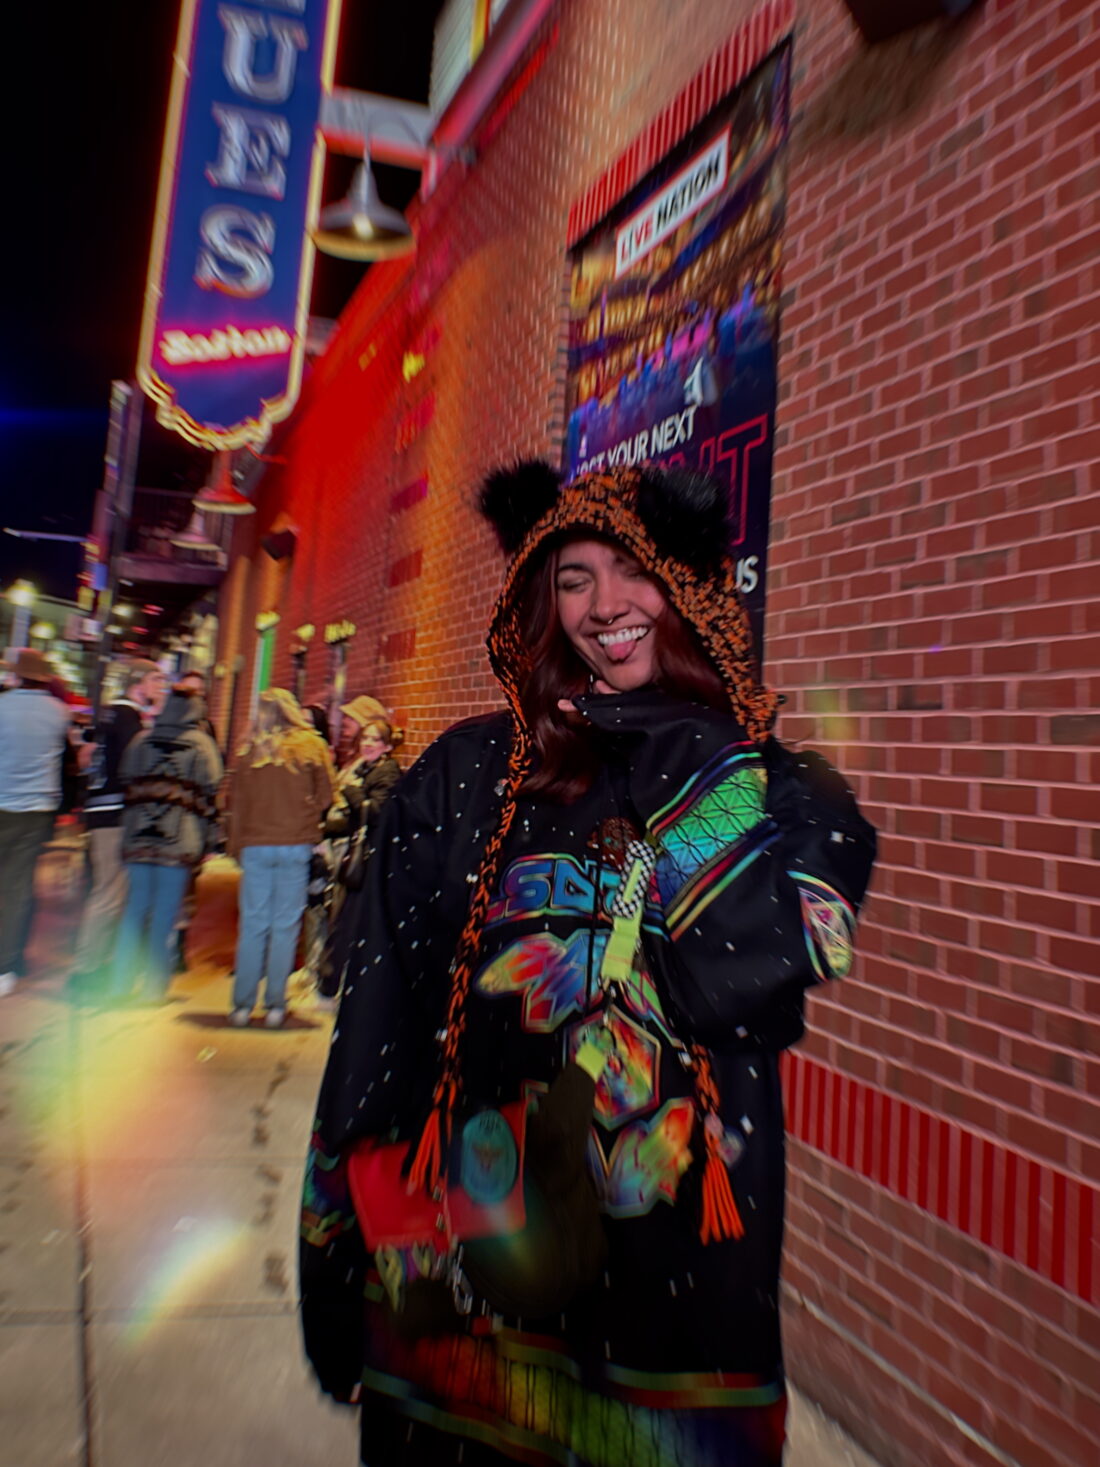
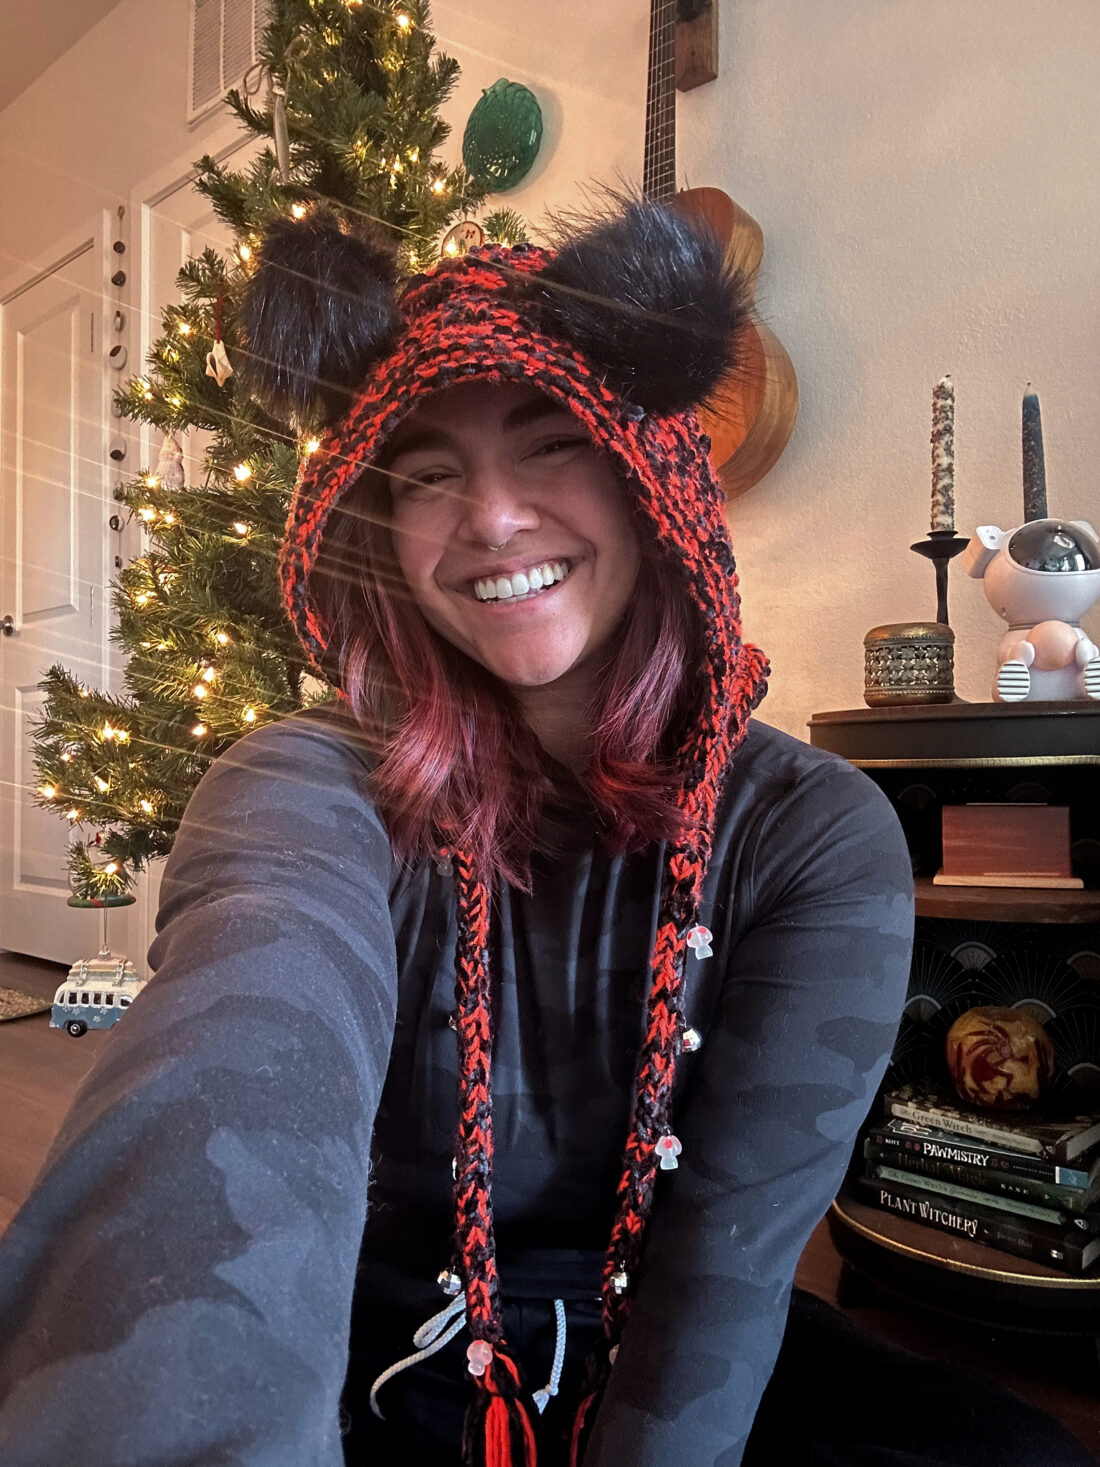
The finished project:
I was super happy with how this finished project turned out. Sure, I may make a few modifications for next time, but I’ve already received multiple compliments on this hood out in public. I love that this hood glows under blacklights and I may even choose to sell something similar one day. But for now, good luck making your own!
