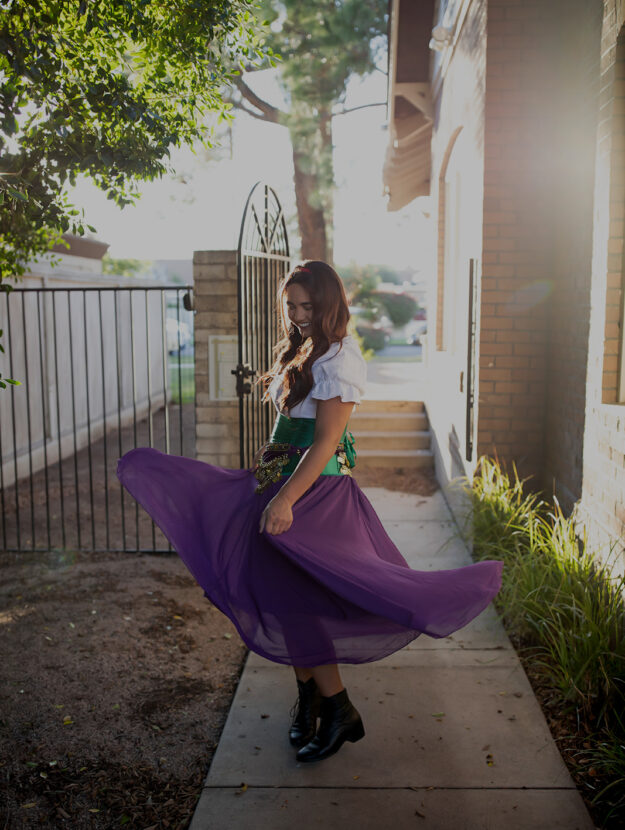
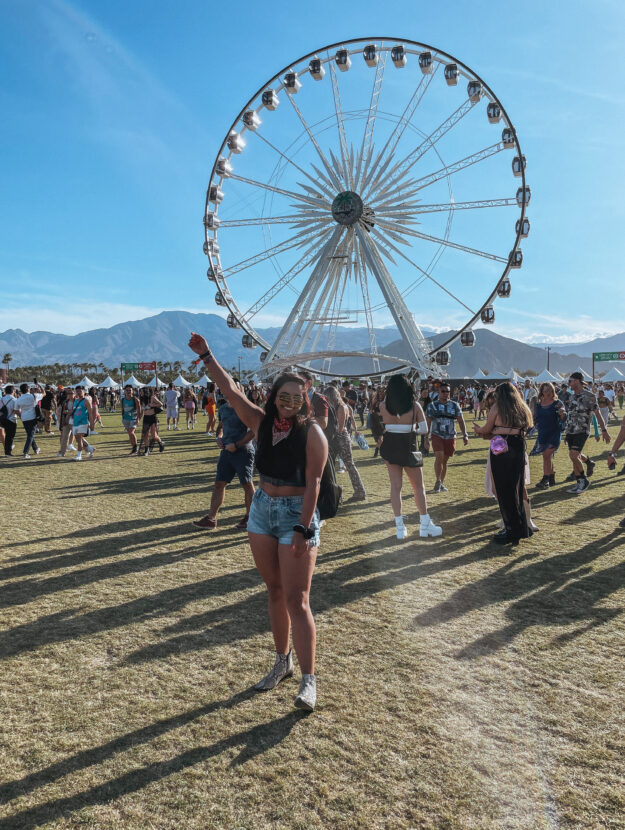
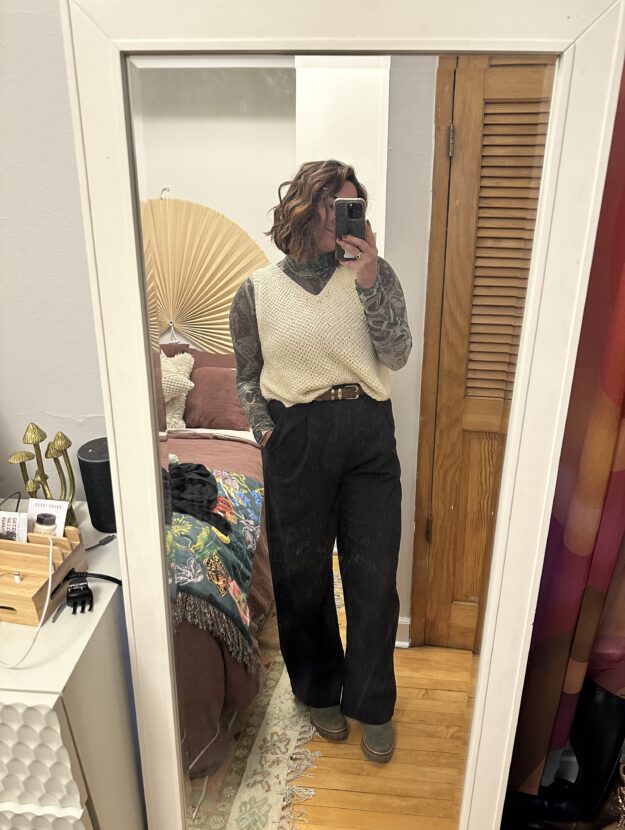
When I started sewing again in November, my ultimate goal was to make unique additions to my wardrobe. After tackling a bag, I felt confident enough to sign up for another sewing class. This time, it would be to make a garment that I hoped and prayed would actually be wearable. The project? The Estuary Skirt by Sew Liberated: a (confident) beginner-friendly button-front skirt pattern.
I took the class at SewBo, a fabric store in Boulder, CO. If you’re local to the area, I highly recommend their classes!
Pattern Details:
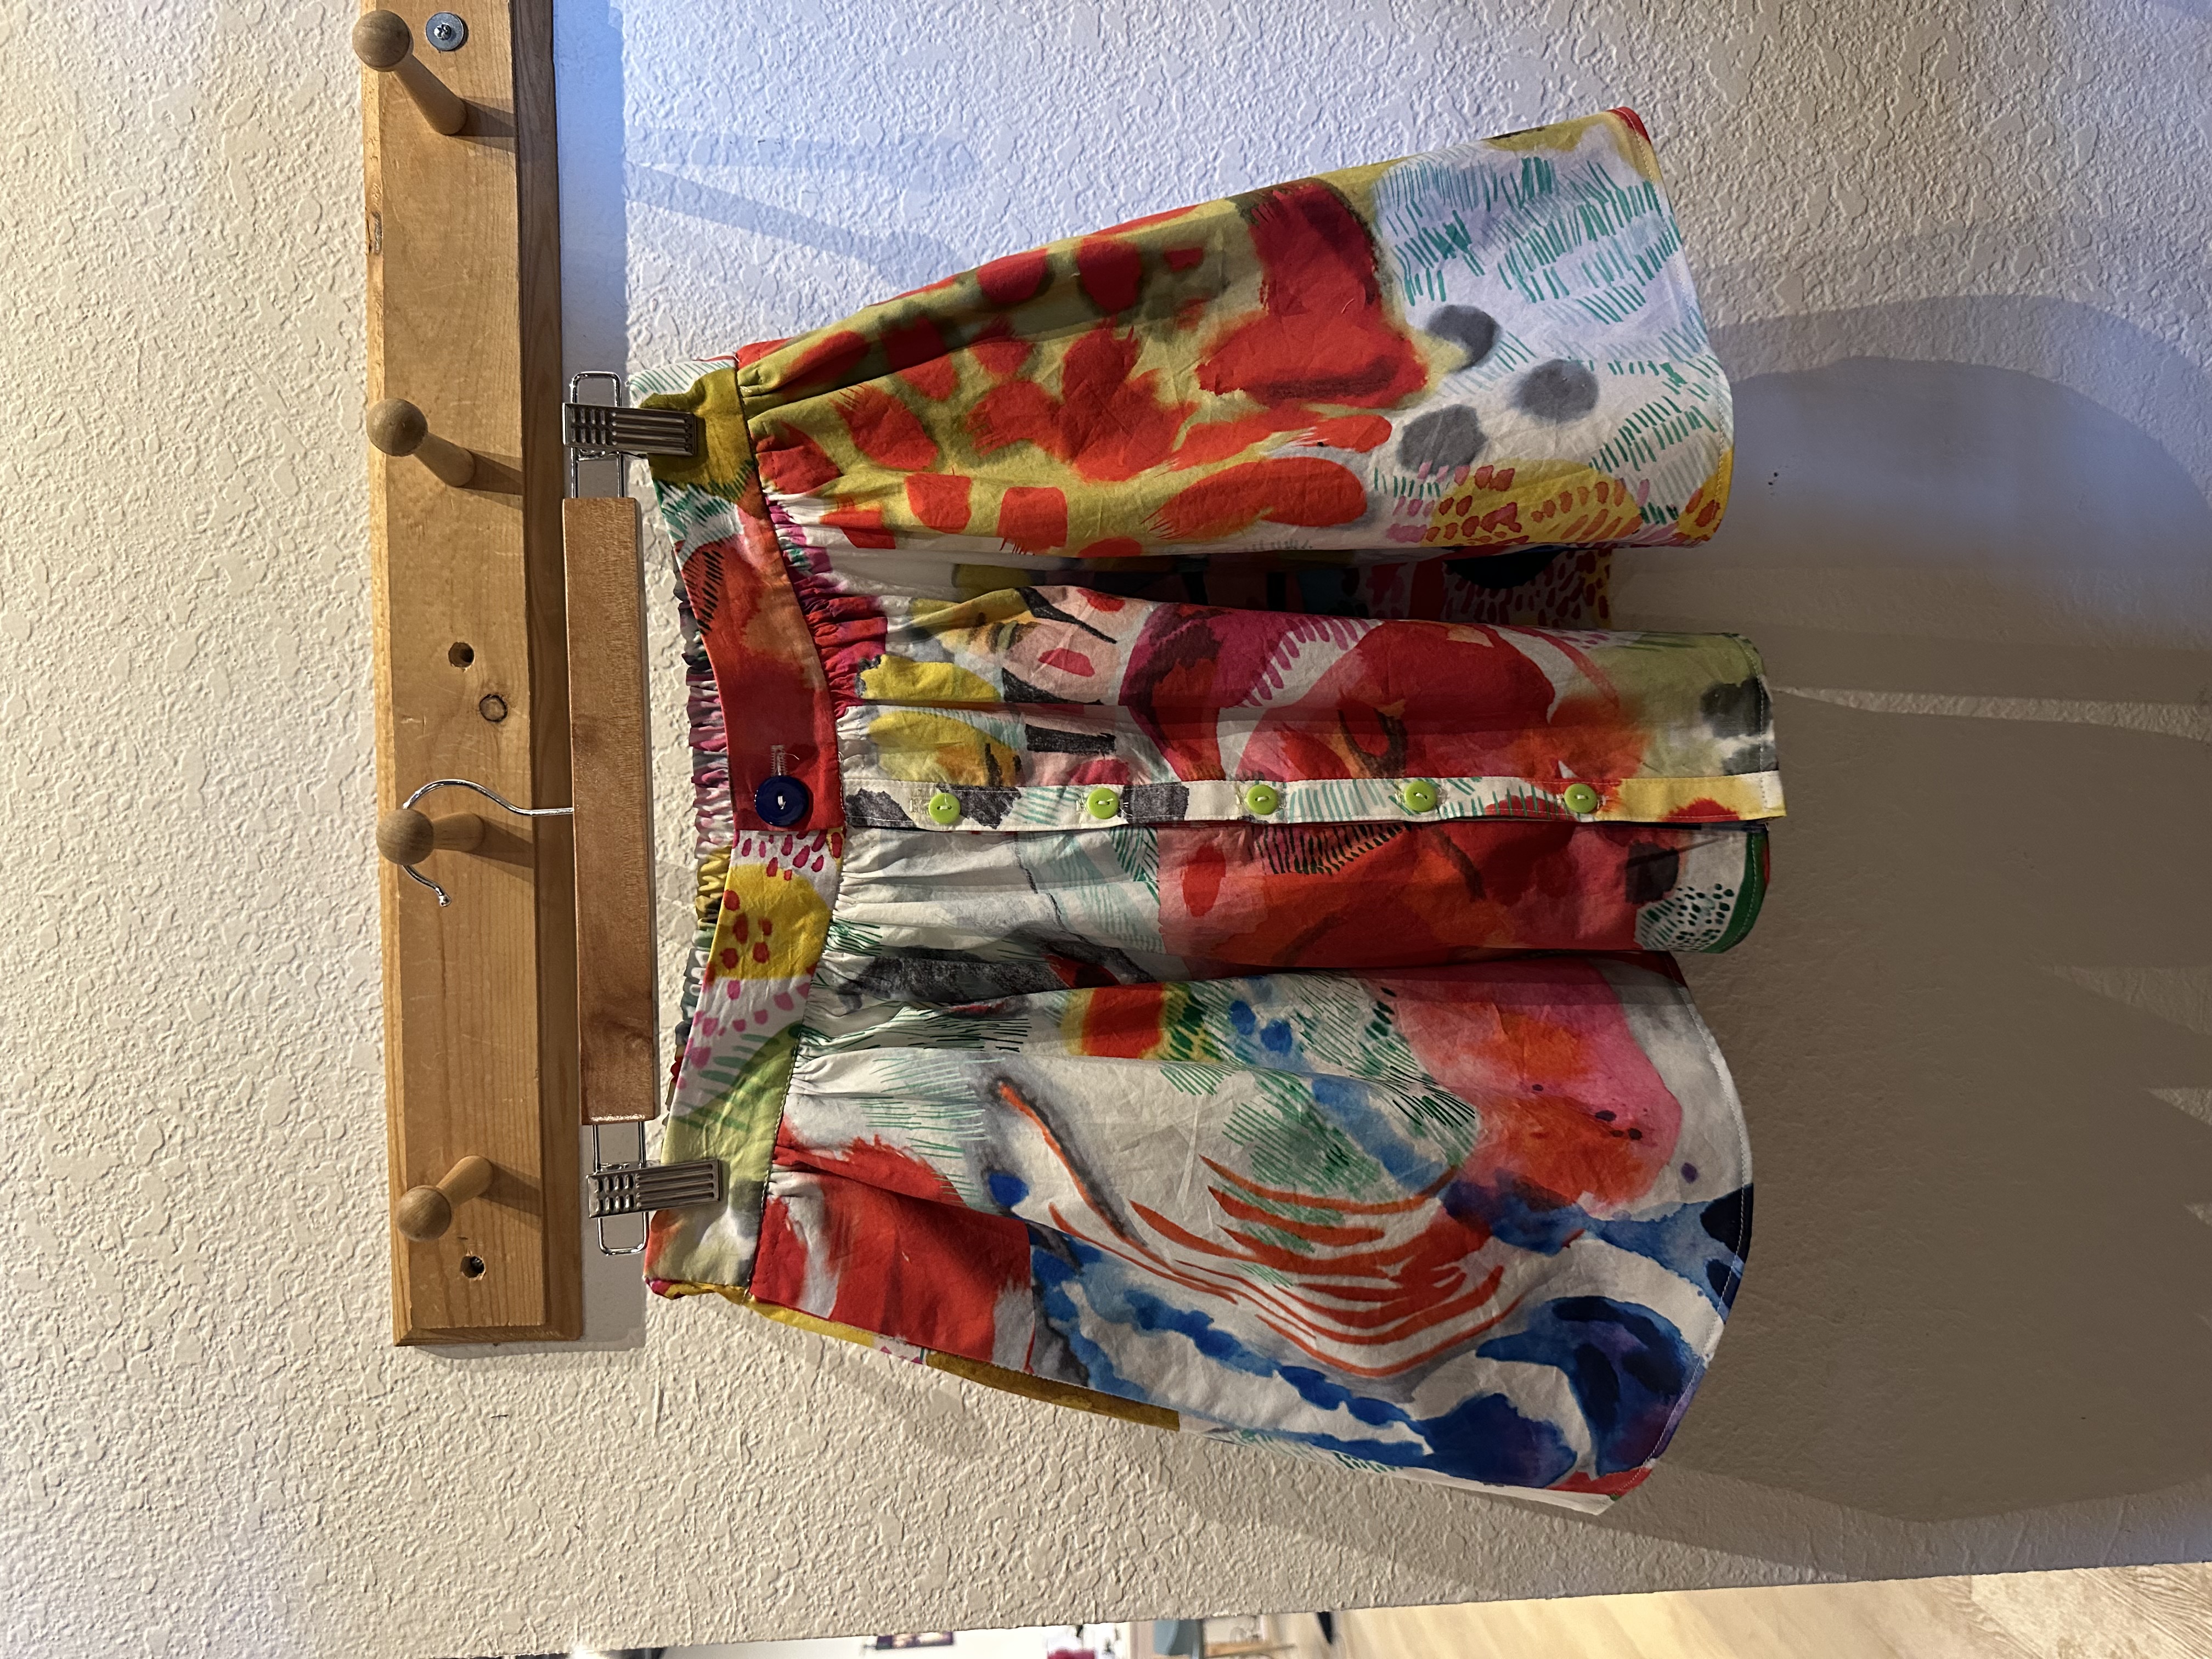
The Estuary Skirt is a beginner-friendly, elastic-back skirt with a flat front waistband and optional button placket. It comes in sizes 0–34 and includes thoughtful instructions that make it approachable even if you’re newer to garment sewing, like I was!
Pattern: Sew Liberated Estuary Skirt
Fabric: Katie Kortman Watercolor Cotton – Other Katie Kortman Fabrics can be purchased on Spoonflower!
Size Range: 0-30 – I made a size 10!
Skill level: Intermediate or Confident beginner
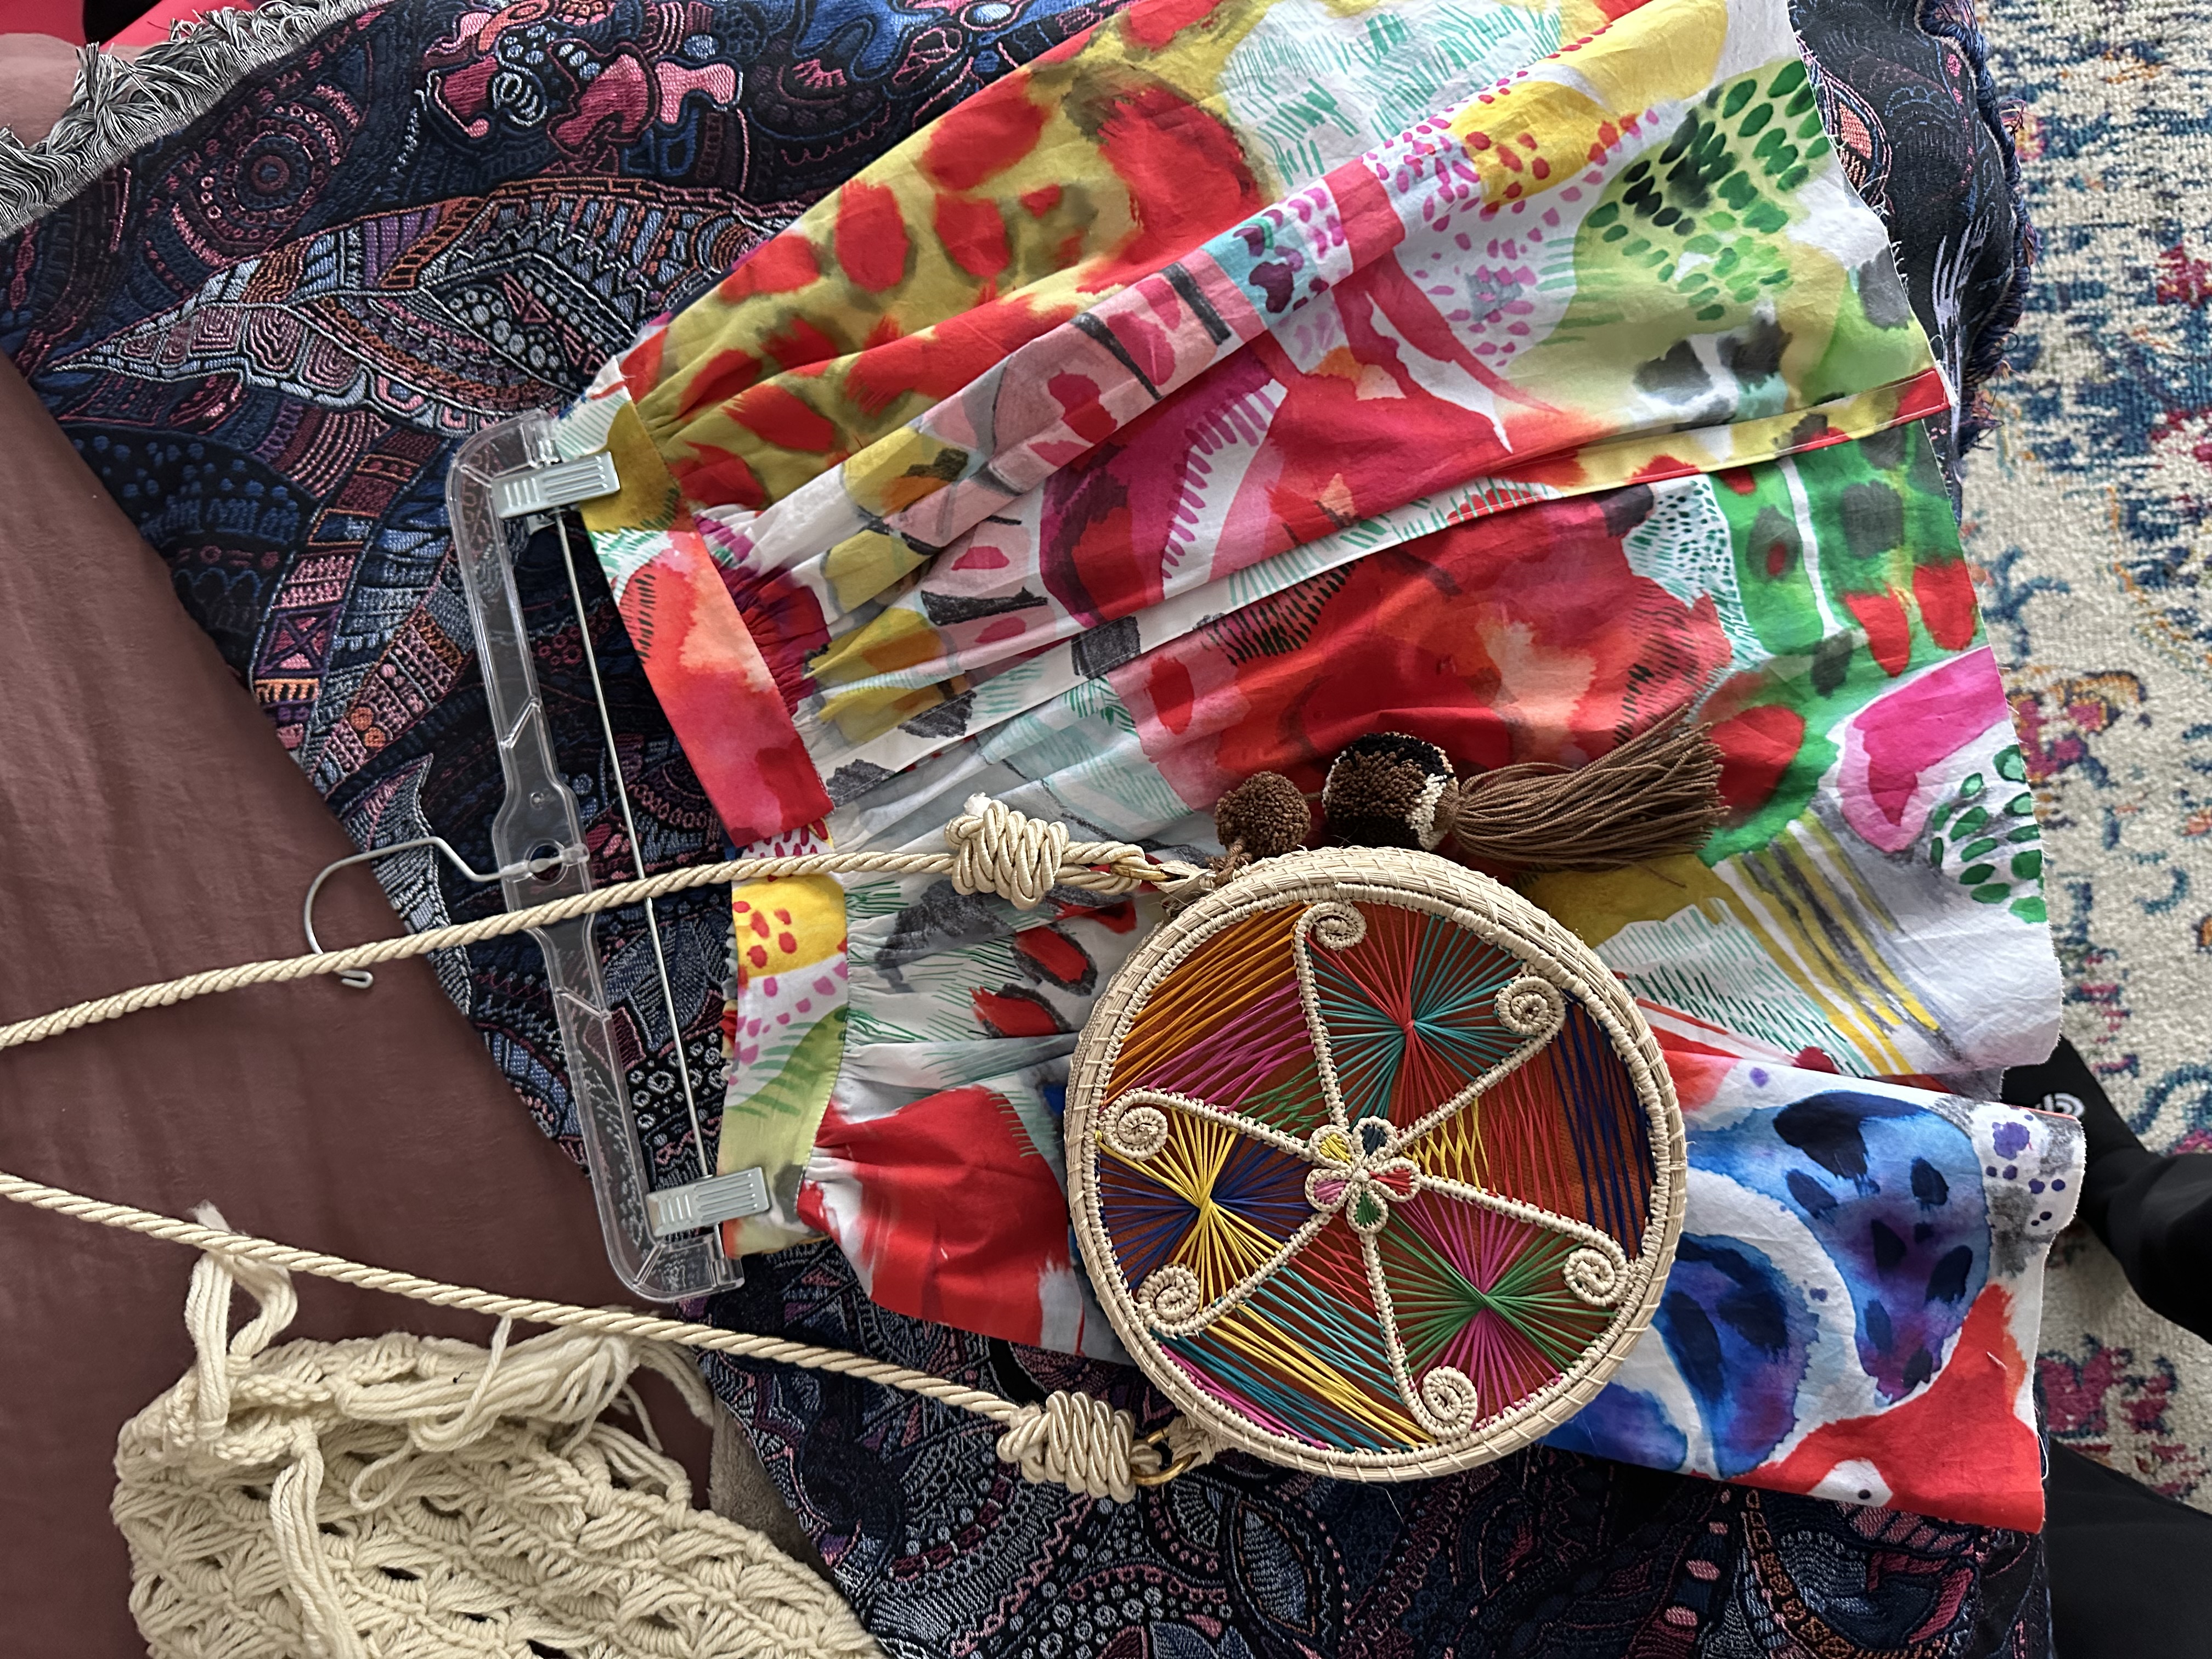
Fabric and Notions:
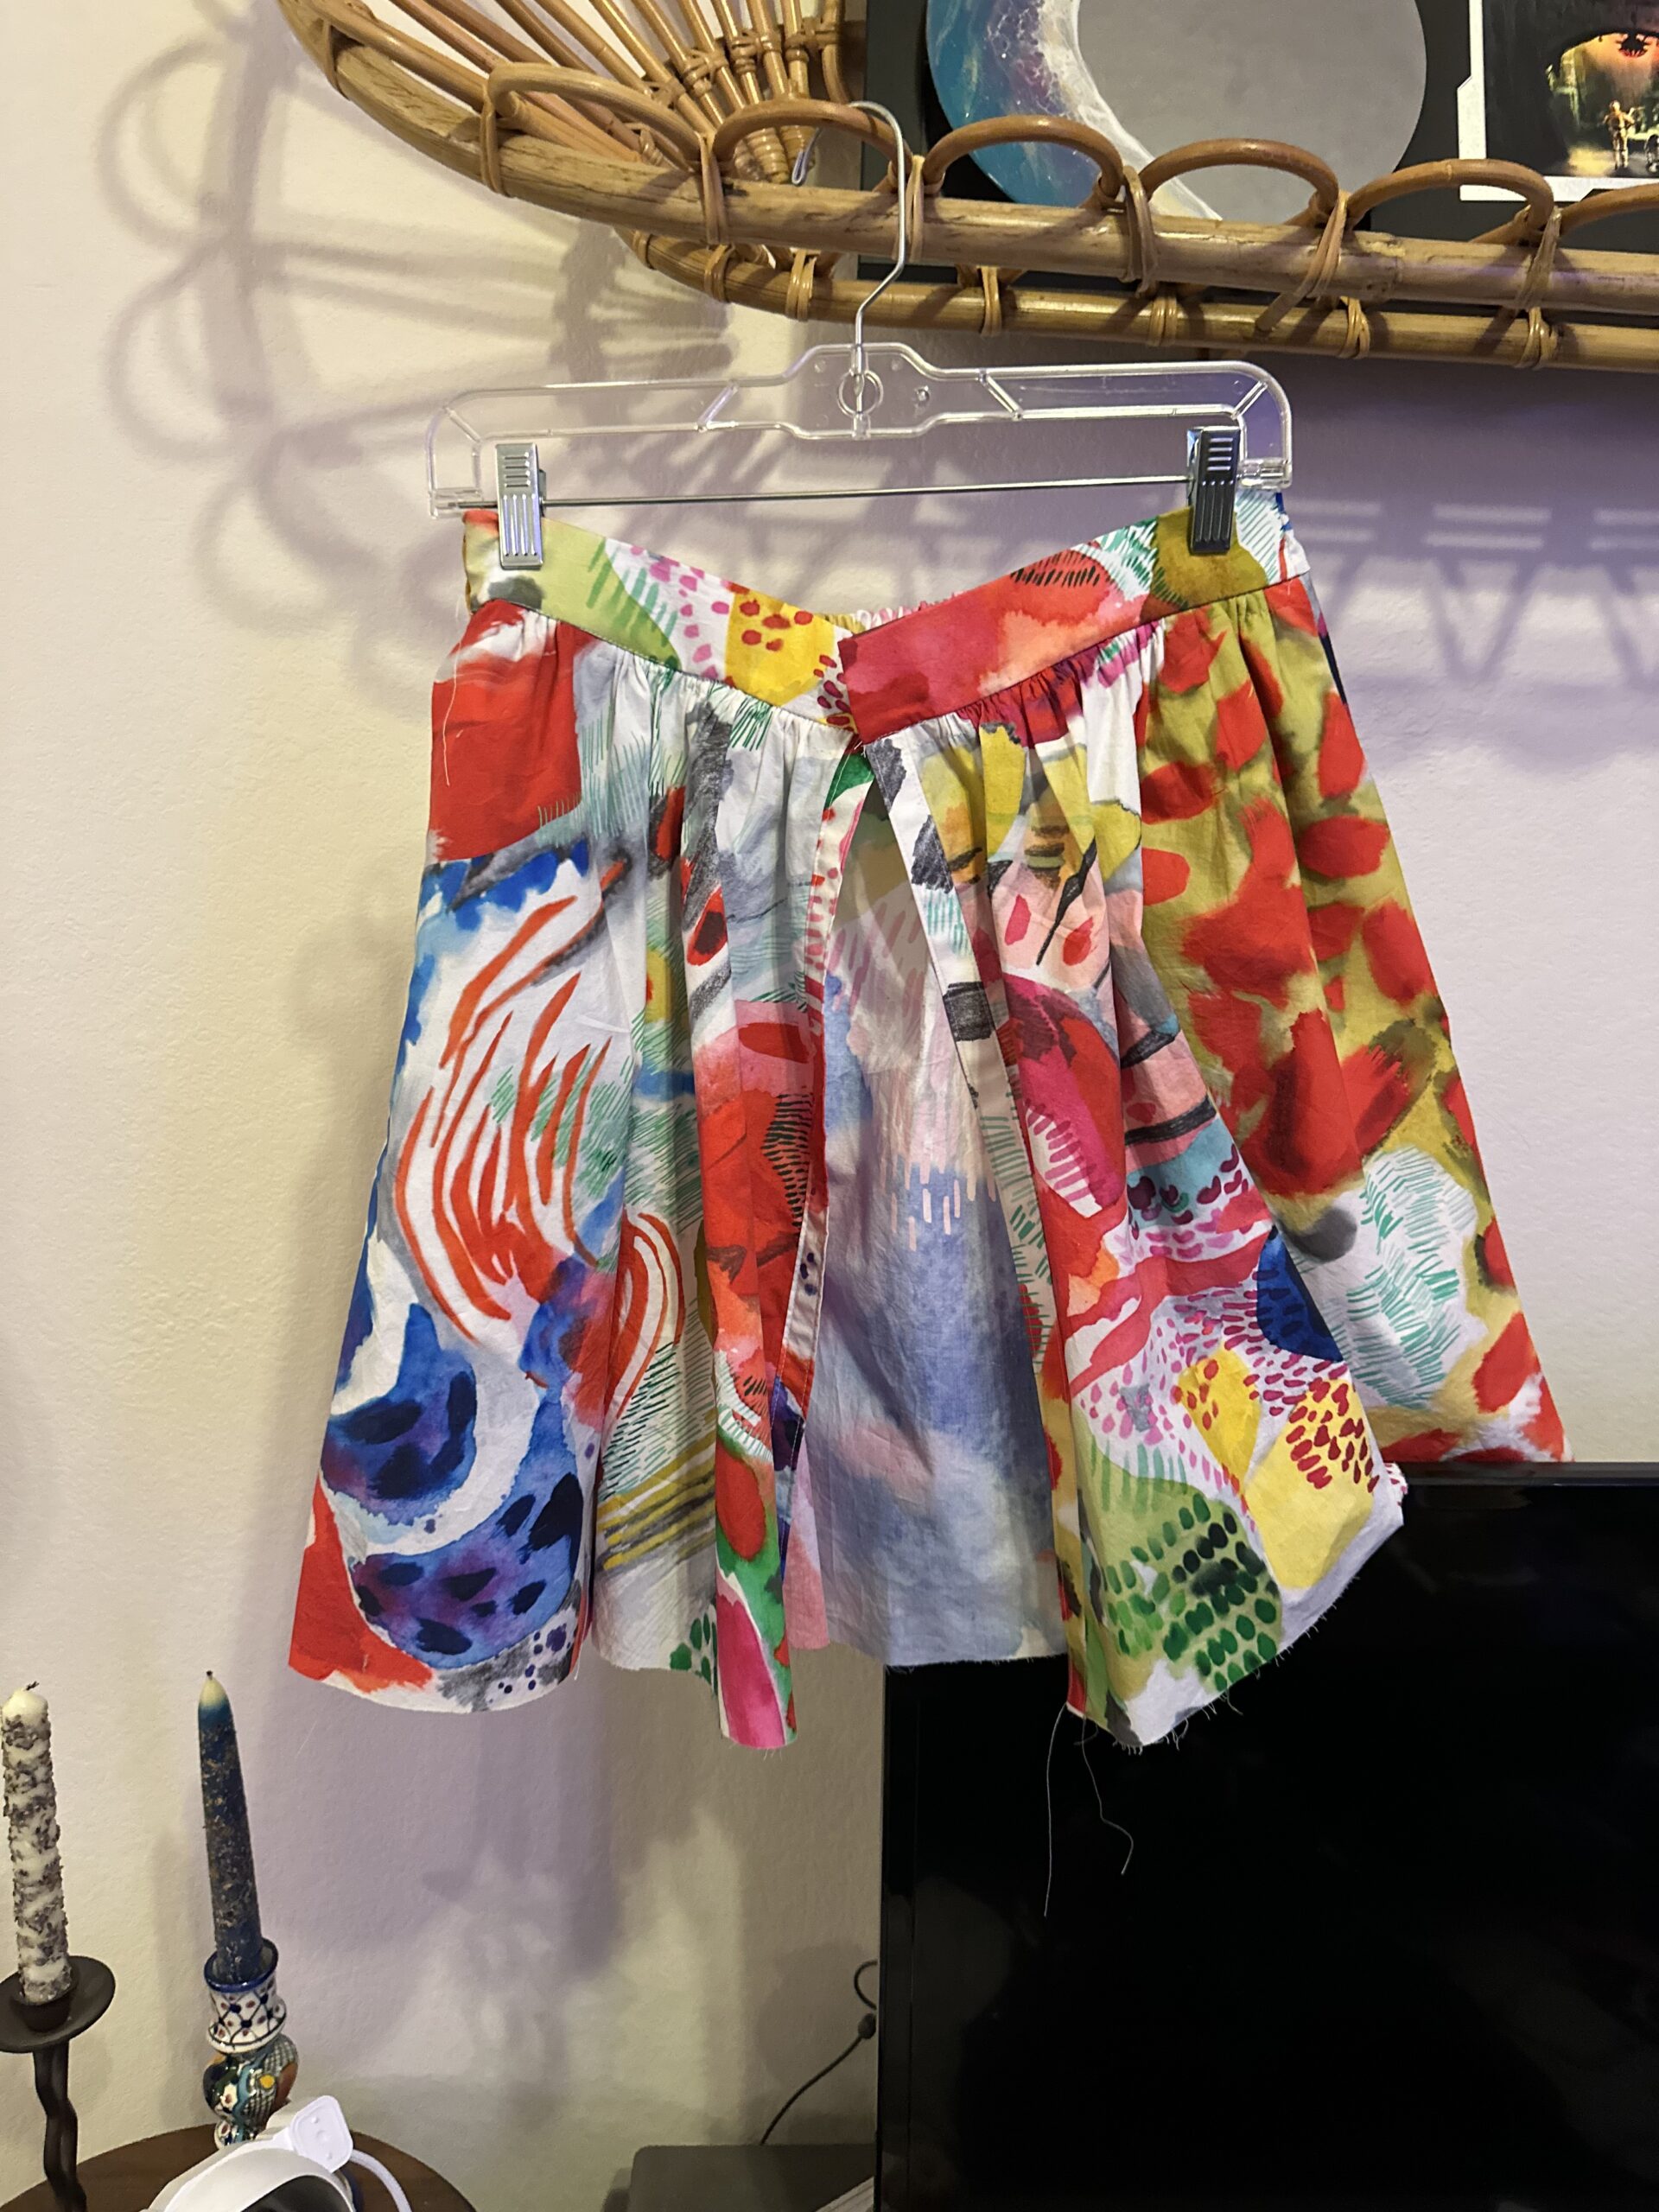
I chose a beautiful lightweight cotton with this bright print from SewBo, where I would be taking the class. The fabric is light and therefore, just a bit sheer, but since I tend to wear shorts under skirts and the print is loud and bright, I wasn’t too worried about the sheerness of the fabric. I opted not to add a lining but it’s totally doable with this pattern. I also picked out some bright green thrifted buttons from Art Parts in Boulder to use on the front of the skirt and a solid blue button for the waistband.
Sewing the skirt:
This was the “first” garment I’ve done since picking sewing back up. For a beginner, the instructions were clear and beginner-friendly, helping me tackle buttonholes, gathering, hemming, and ruched waistbands all in one project.
I made a size 10 based on my waist and hip measurements, and the fit was spot-on. The elastic back makes it super forgiving, and the flat front means it pairs beautifully with tucked-in tops or cropped blouses. I didn’t make any changes to the waist size, but I could have cut the panels a little narrower if I wanted less “fullness” in the skirt.
I spent about 2-4 hours over four different days making this skirt. I spent the first day washing, ironing, prepping and cutting out the fabric. On the second project day and first sewing day, I finished everything up to the front plackets. I finished the gathering and waistband on day 3 and finally finished the buttonholes on day 4. I’d say it was a total of about 6-7ish hours of sewing for me. If I had previous experience with all of these sewing skills, I think I could have done it more quickly.
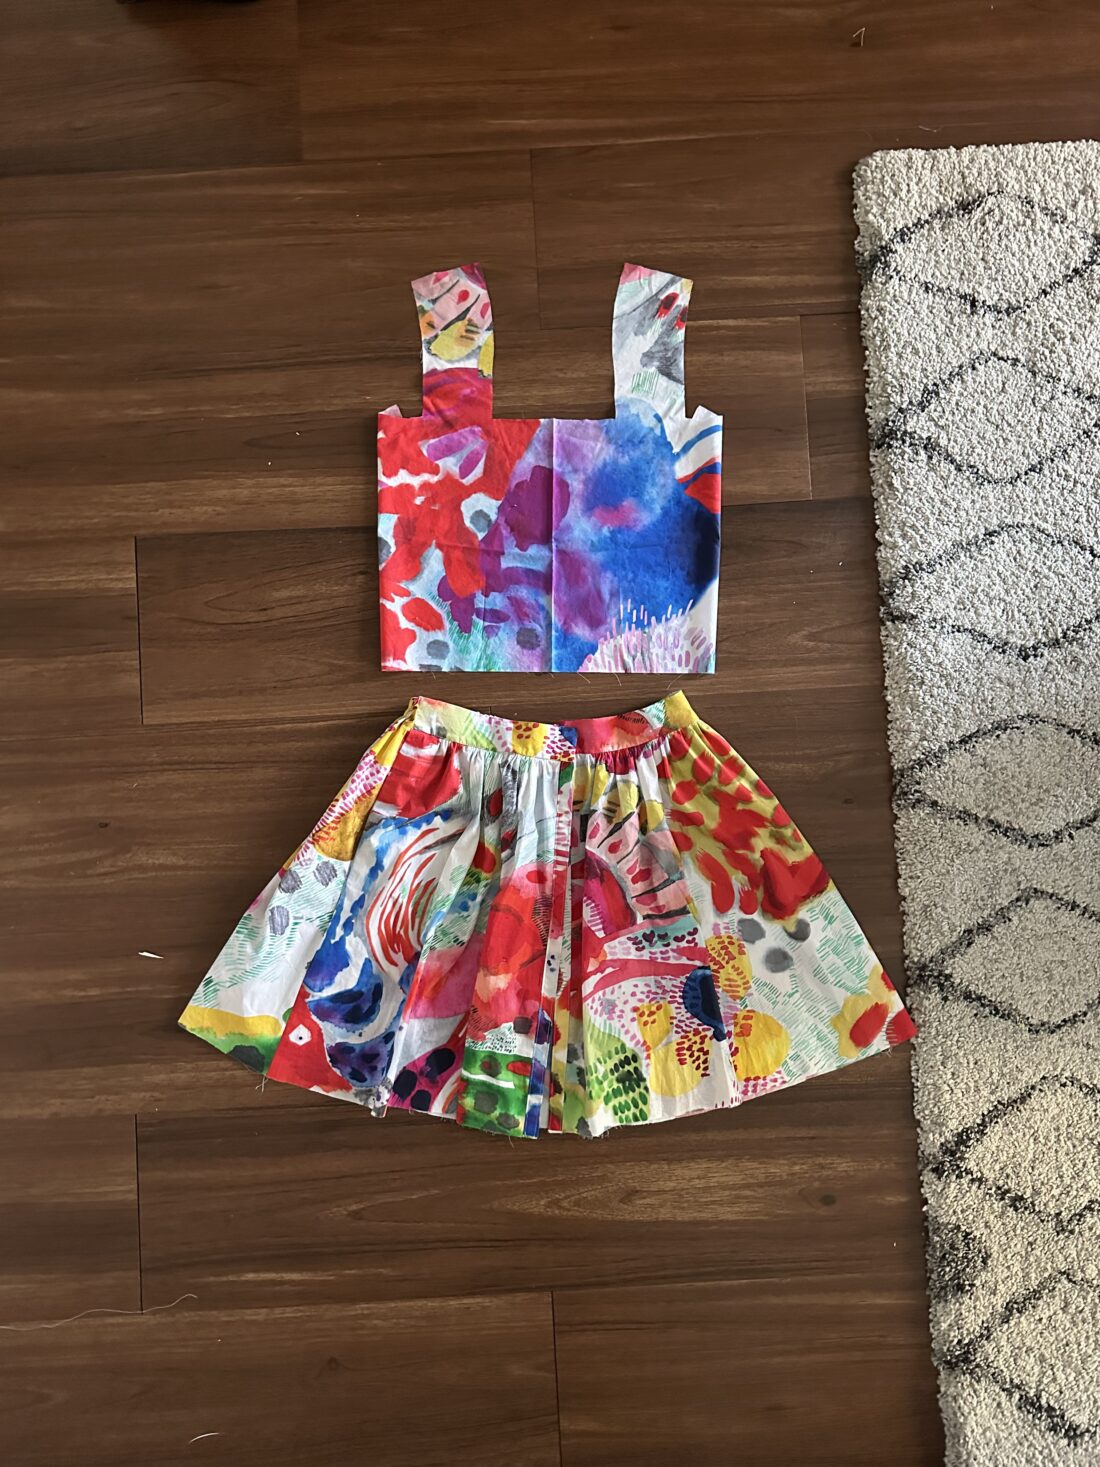
Alterations I made:
I had a button-front skirt when I was in college. It was a midi-length and I remember it being particularly hard to style on my body type. My solution? I was just going to make it shorter. I measured my perfect length by using of my favorite mini skirts and adding an inch-and-a-half for hemming and seam allowance.
Because I decided on a mini-skirt, I also decided I would also follow the pattern for invisible pockets (instead of the patch pockets). My ultimate plan also includes making a matching crop top and bucket hat with this same cotton for summer!
I do think I’d make this skirt again in a slightly longer length (maybe at the ankle?) in a pretty fall color or print to pair with tall boots in the fall. I can’t help but dream of this skirt in a gorgeous jewel tone with some mismatched thrifted buttons.
The Estuary skirt is a big hit on the sewing threads out there – have you made it before? How would you style this skirt?
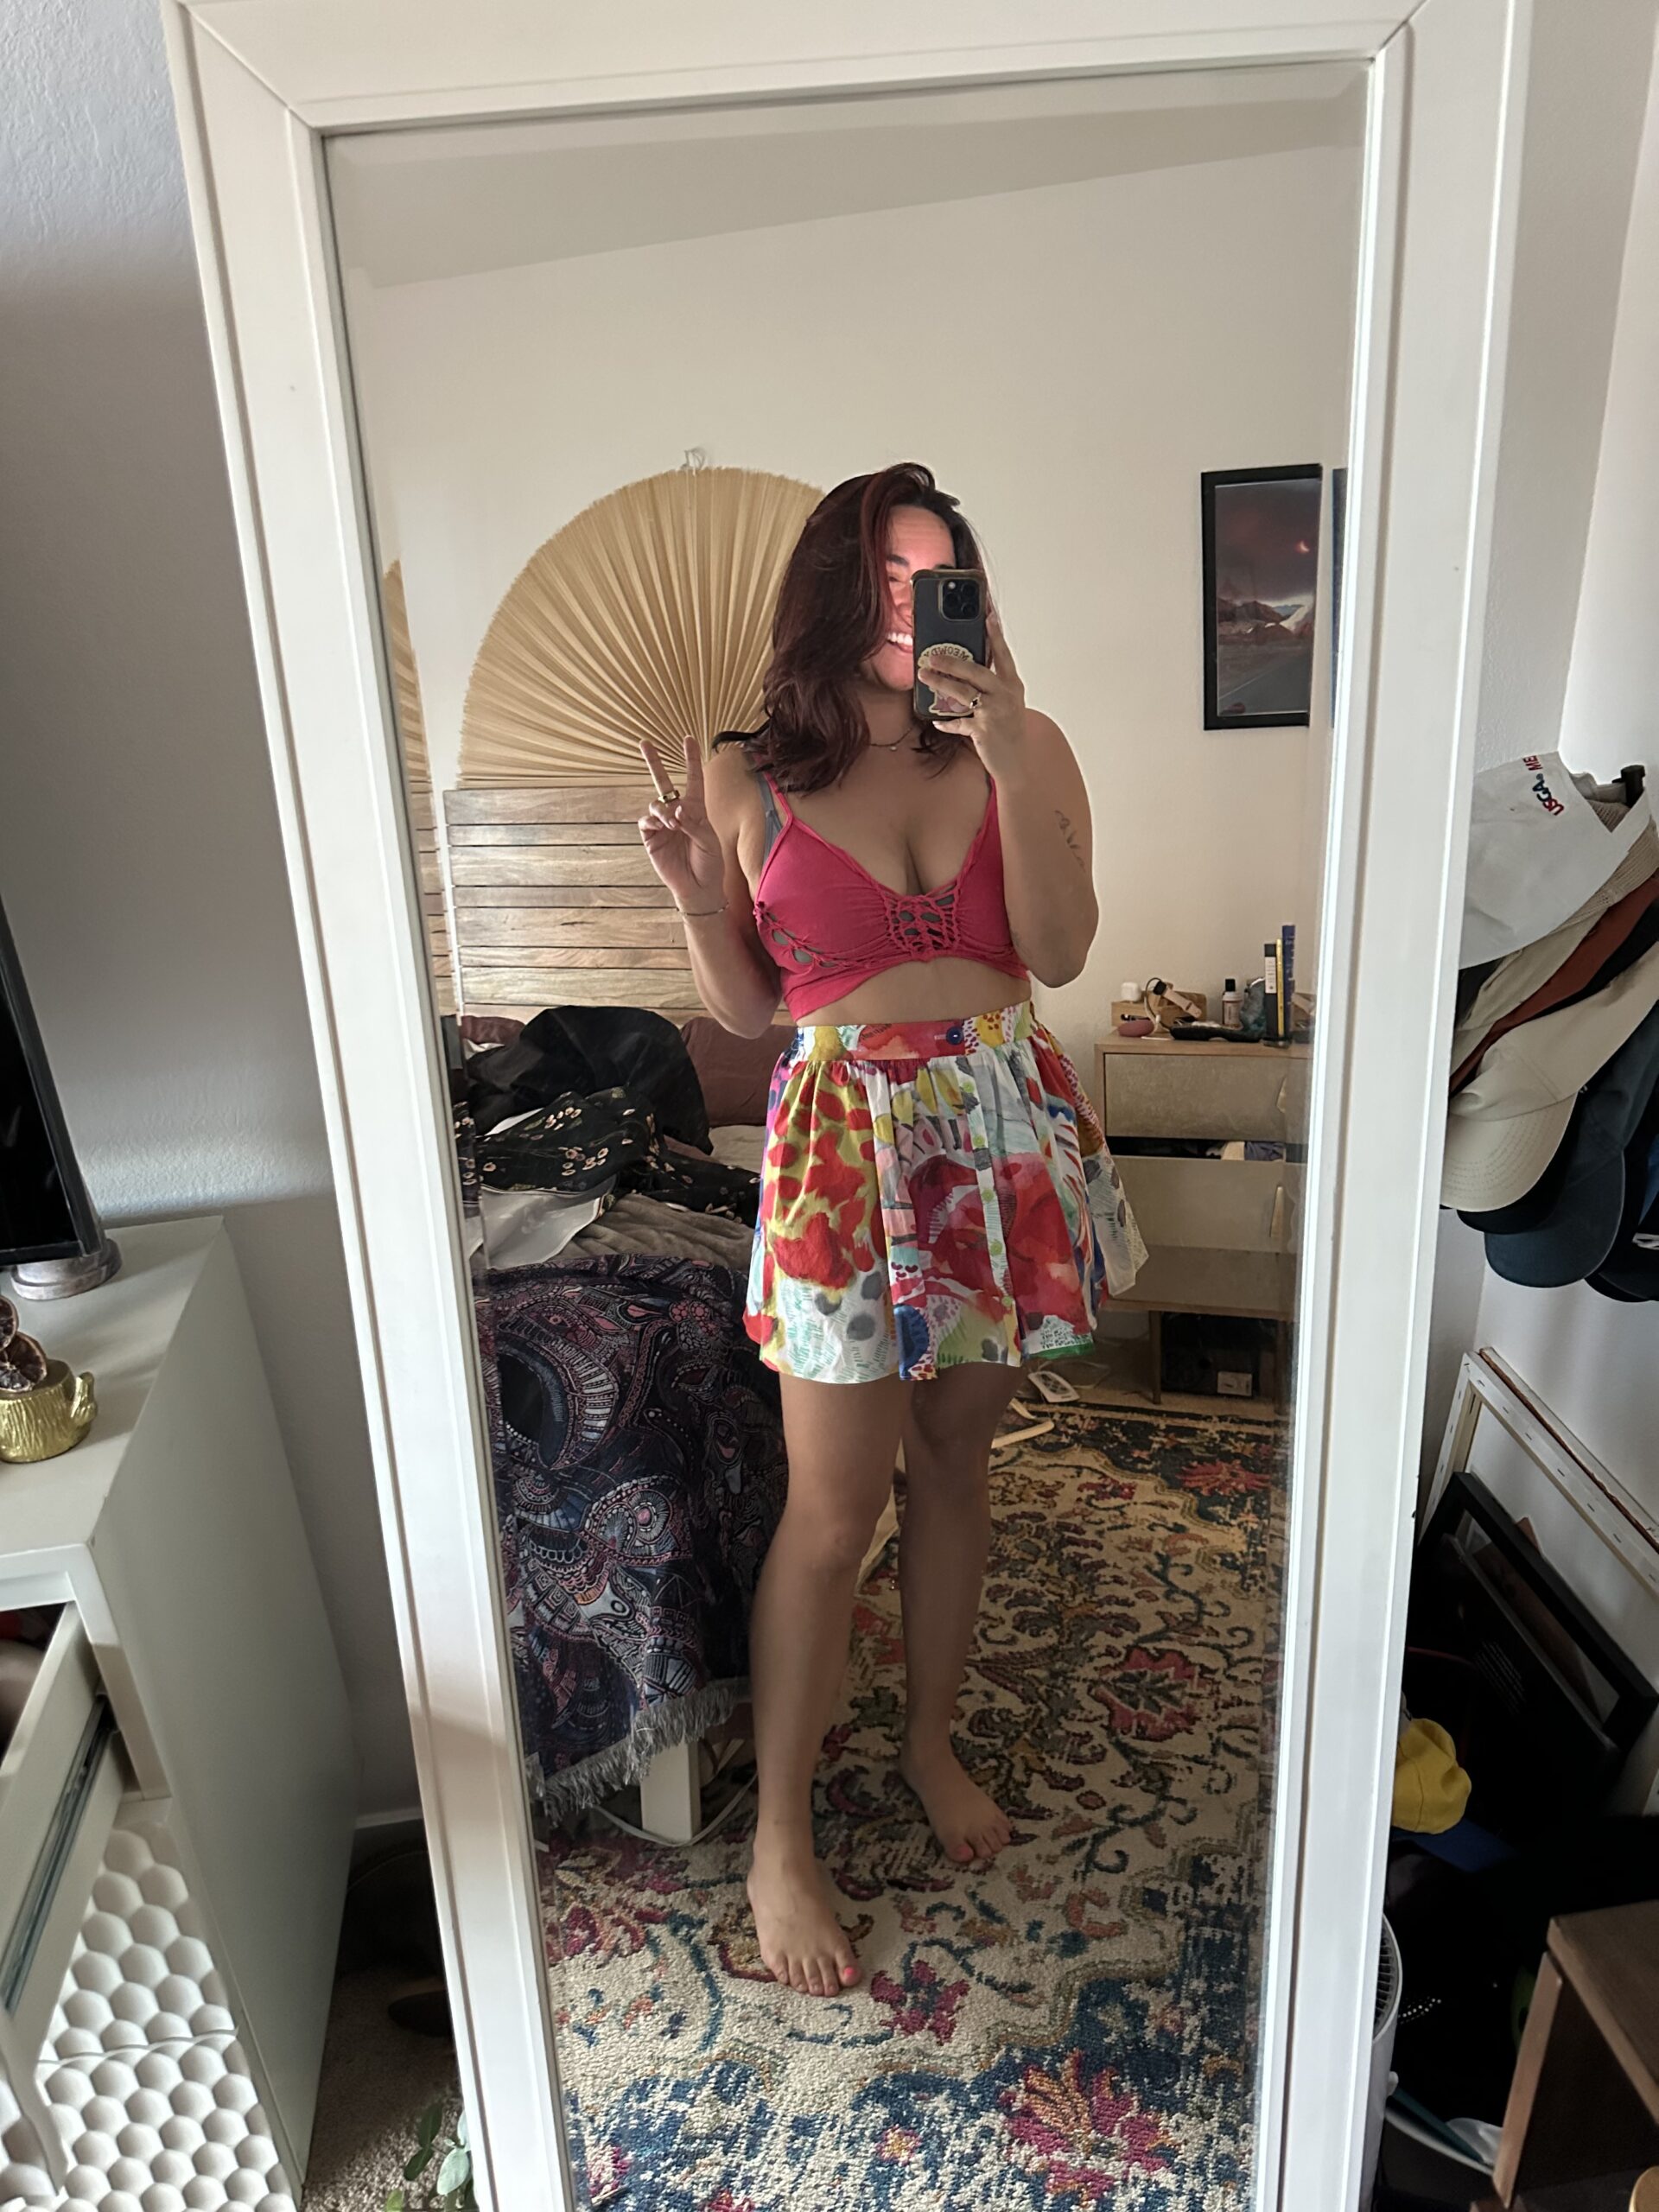
@curatedbykirsten The Aster Top from True Bias and the Estuary Skirt from @Sew Liberated! #sewing #summerskirt #beginnersewing #beginnersewingproject #sewingtiktok #handmade ♬ original sound – Kirsten

